In this tutorial we will see how to track the viewing of certain content on our website built on Framework360. This can be very useful, for example, to track which web page has been viewed when a visitor from a Facebook or Google advertising campaign, created by us, lands on our website.
The operation of tracking the viewing of a web page can be carried out through a Web Tracking project, that is, a project that allows us to track everything that happens on our website. If you want to know more about how the Web Tracking module of Framework360 works, I invite you to consult the dedicated tutorial by clicking here.
Step 1: Let's create a tracking project
First of all, let's go to the submenu of the main Framework360 menu "Web Tracking" by following these steps:
Tracking > Web Tracking
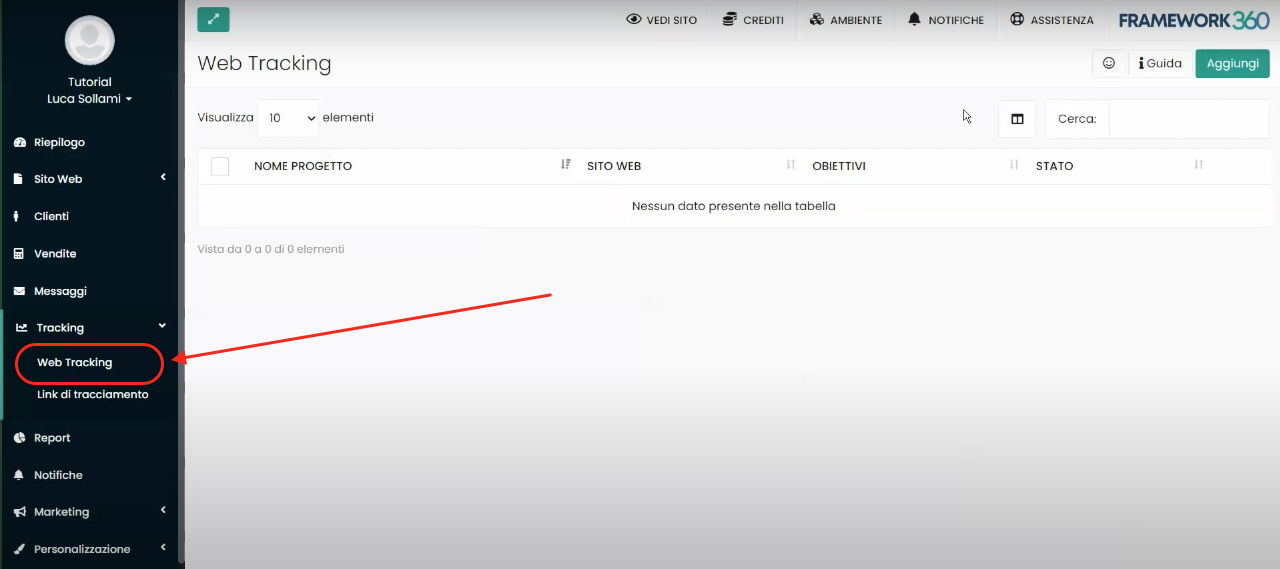
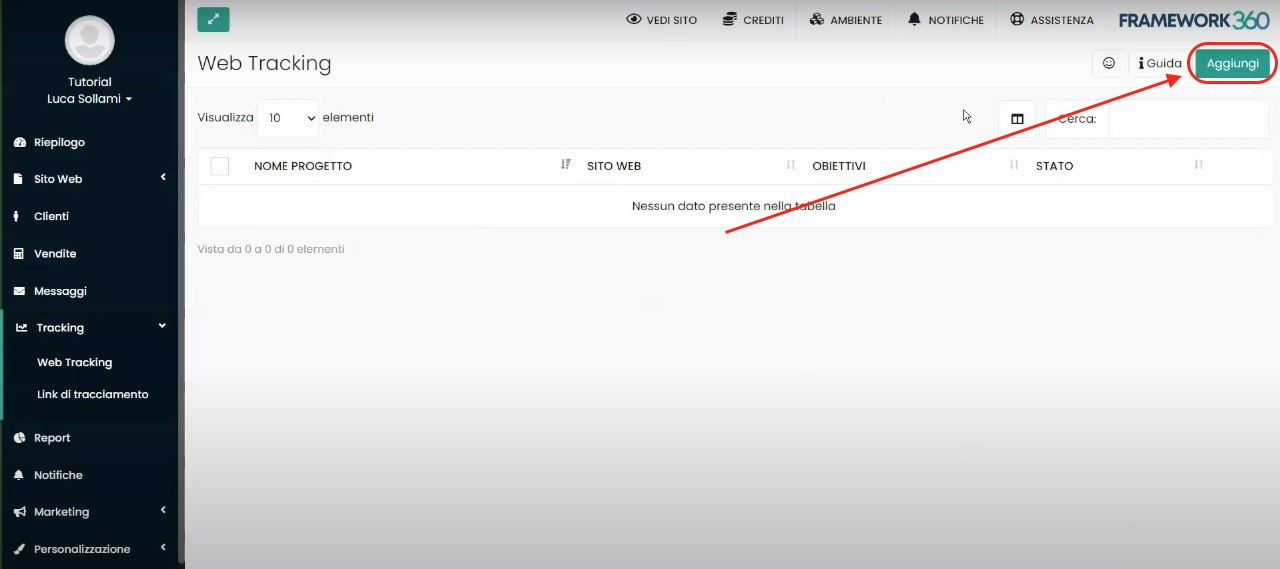
Once inside the screen dedicated to the various Web Tracking projects created, we can create a new one by clicking on the green button “Add” at the top right.
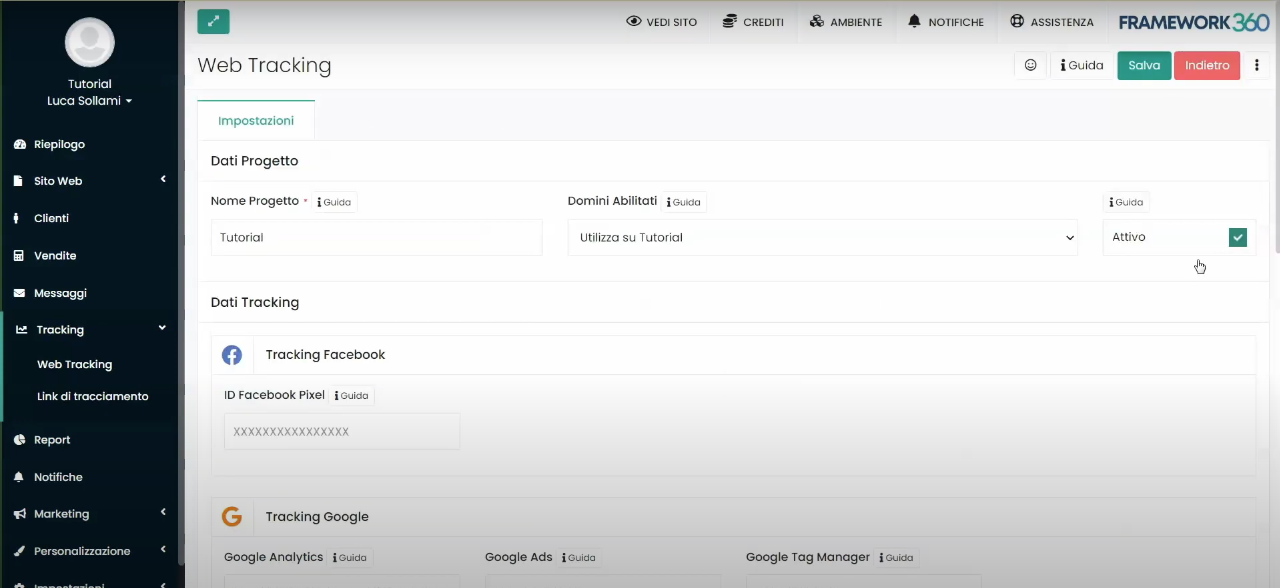
In the first tab of the tracking project creation screen, called “Settings”, we should define the name of the project (usually the website name is used), the domain of the site we want to track (this option allows us to track what happens even for sites whose domains are external, that is, built on another platform) and synchronize third-party tracking such as, for example, Facebook Pixel, Google Analytics, etc…
I remind you that if you want to understand in detail all the features of the Web Tracking module and how to set up a new project, we have created a dedicated tutorial that you can consult by clicking here.
The main purpose of this tutorial is, instead, to understand how to enable the tracking goal of viewing content, such as viewing a specific page of the site, among the objectives of our tracking project. To this end, after setting what is required in the "Settings" tab and saving the project with the green "Save" button at the top right, we will notice that two additional tabs have opened: the "Goals" tab and the "Statistics" tab:
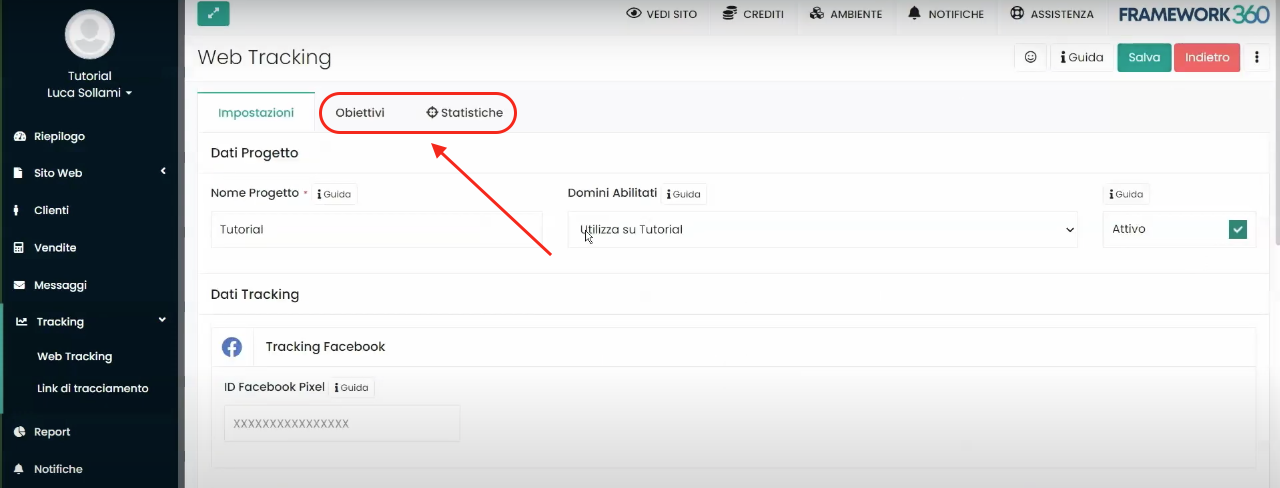
As we will see in the next steps, with the “Objectives” tab we can enable different tracking functions, including tracking specific content on our website.
Step 2: let's enable tracking of content viewing
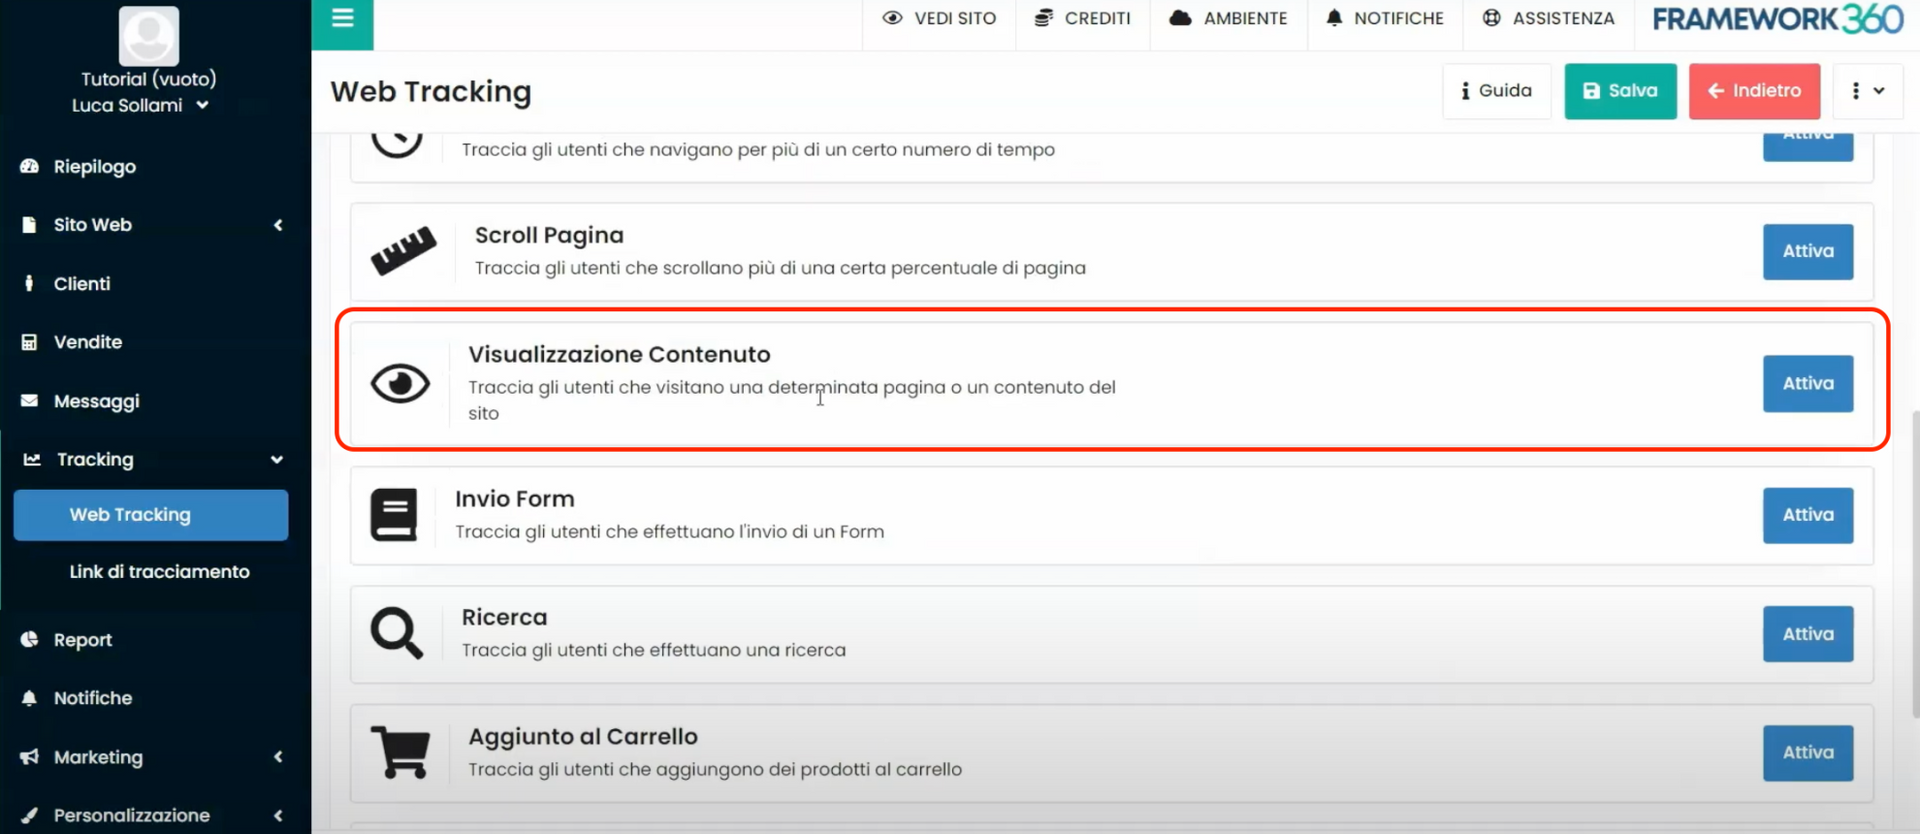
As mentioned earlier, to enable the tracking action of specific content on our website we need to go to the “Objectives” tab of our tracking project. Once inside the tab, we will find a series of tracking objectives. Here we will click on the “Activate” button of the objective “Content Viewing”, as shown in the following figure:
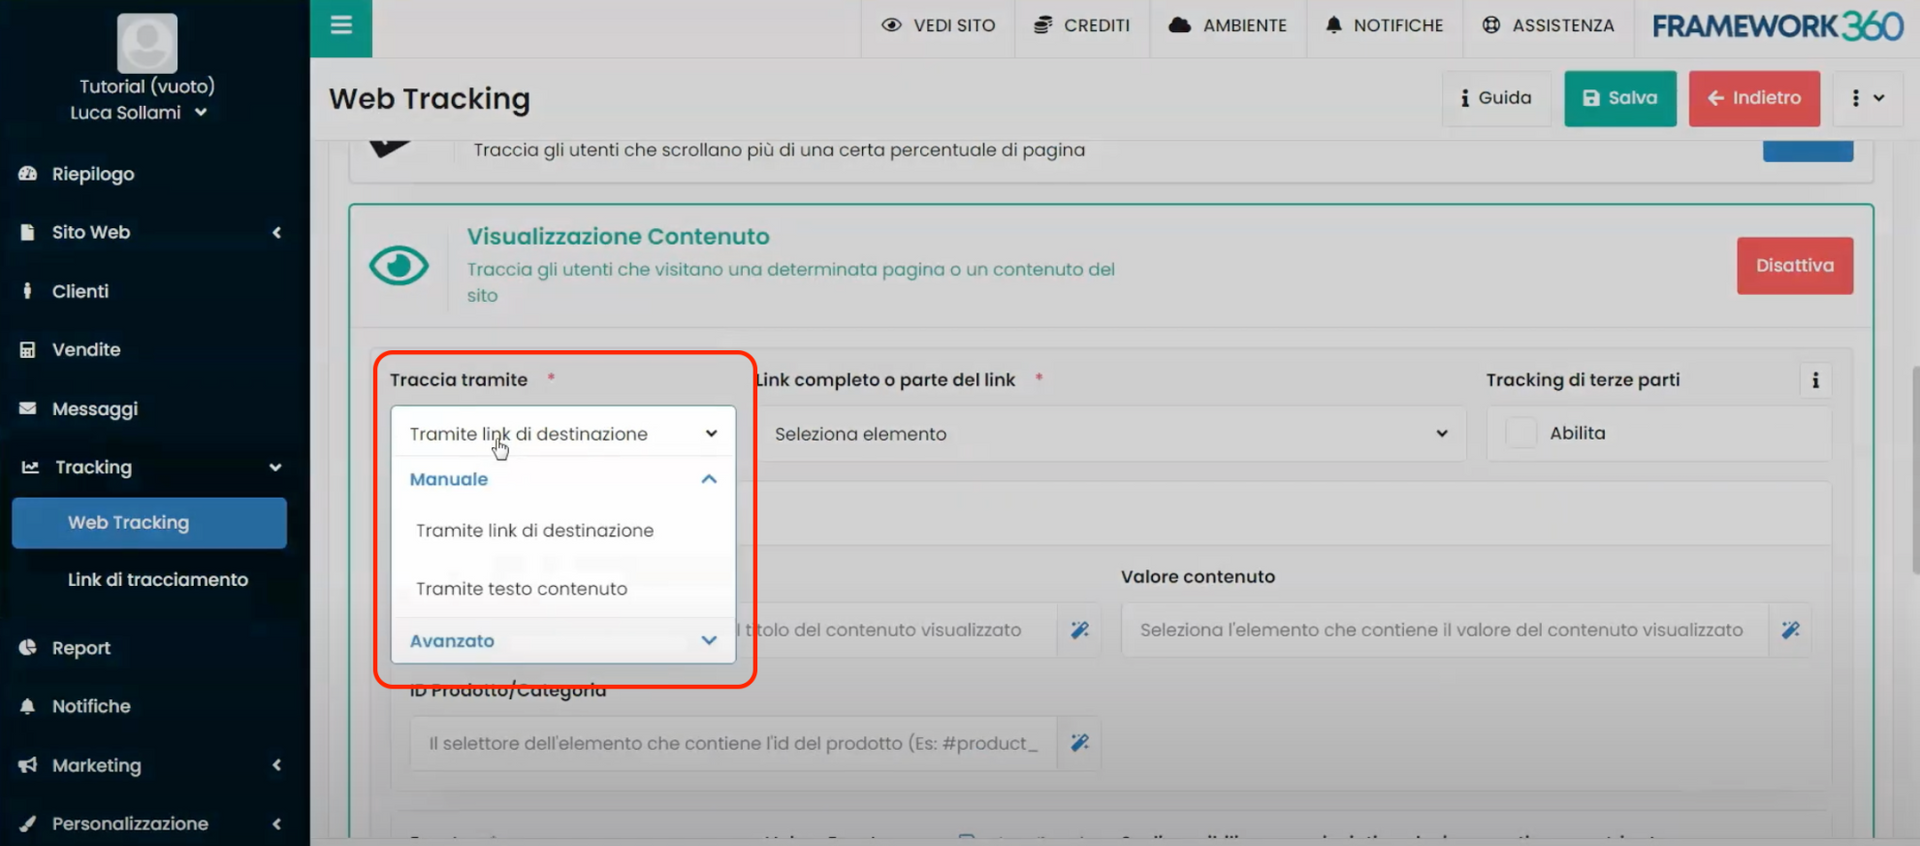
Under the goal icon “Content View”, a section will open to set the goal. Within this section, under the item “Track by”, it is possible to choose, via a dropdown menu, the method to select the page you want to track. The platform offers different methods, including the possibility to enter the page link or a portion of text contained within the page itself. If you choose to select the page using a portion of text, it is important to verify that the selected text is not present on other pages of our website.
Finally, still in the setting screen of the “Content View” goal, by enabling the item “Third-party Tracking”, it is possible to send tracked actions also to advertising platforms configured within the Web Tracking project.
Step 3: Let's view the tracking statistics
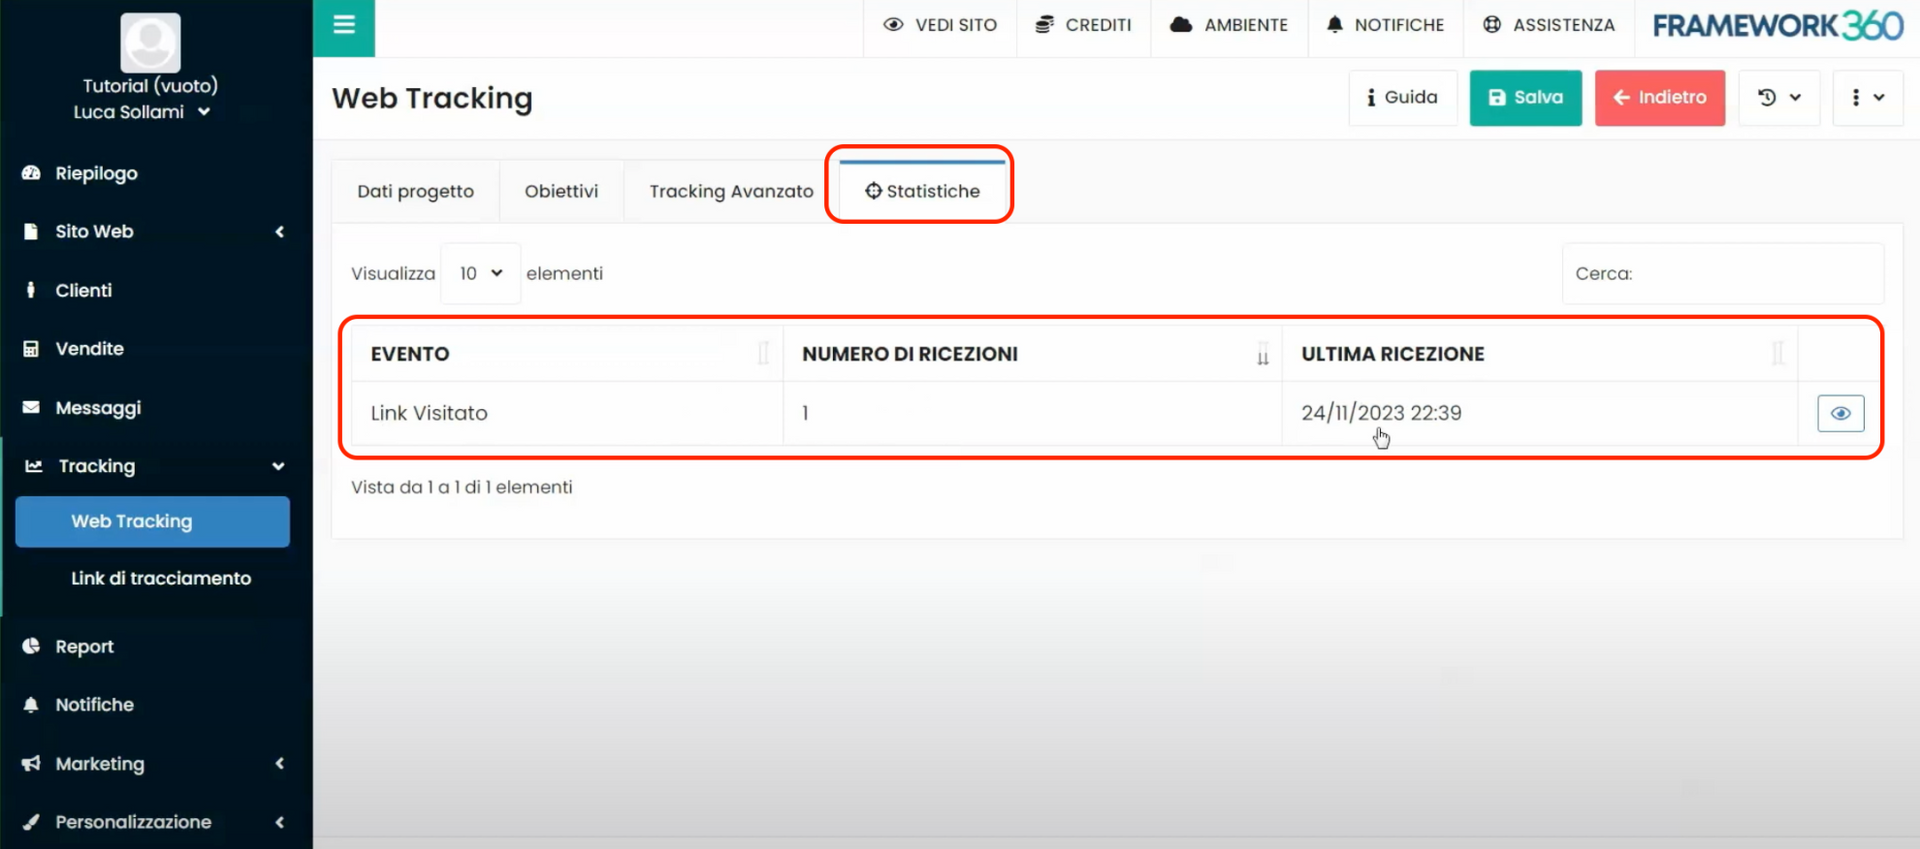
Once the tracking goal is enabled, it will be possible to view the tracking statistics in the "Statistics" tab present on the Web Tracking project editing screen. In this tab, you can see the number of page views made, the time they were made, and additional details related to each click such as which device (Windows, Apple, or Android) and browser (Chrome, Firefox, etc.) were used by the visitor.
Step 3: Let's track the product views of our e-commerce
The content tracking action can also be very useful if we have an e-commerce website, as it will allow us to track the viewing of products or product categories present on our e-commerce.
After installing the e-commerce plugin (we remind you that all plugins can be installed in the “Plugin” section under “Customization” in the Framework360 sidebar), we will notice a new option in our tracking goal “Content View” of the Web Tracking project, created in the first step of the tutorial. This new option, called “Automatically”, will appear in the dropdown menu under the item “Track via”, as shown in the following figure:
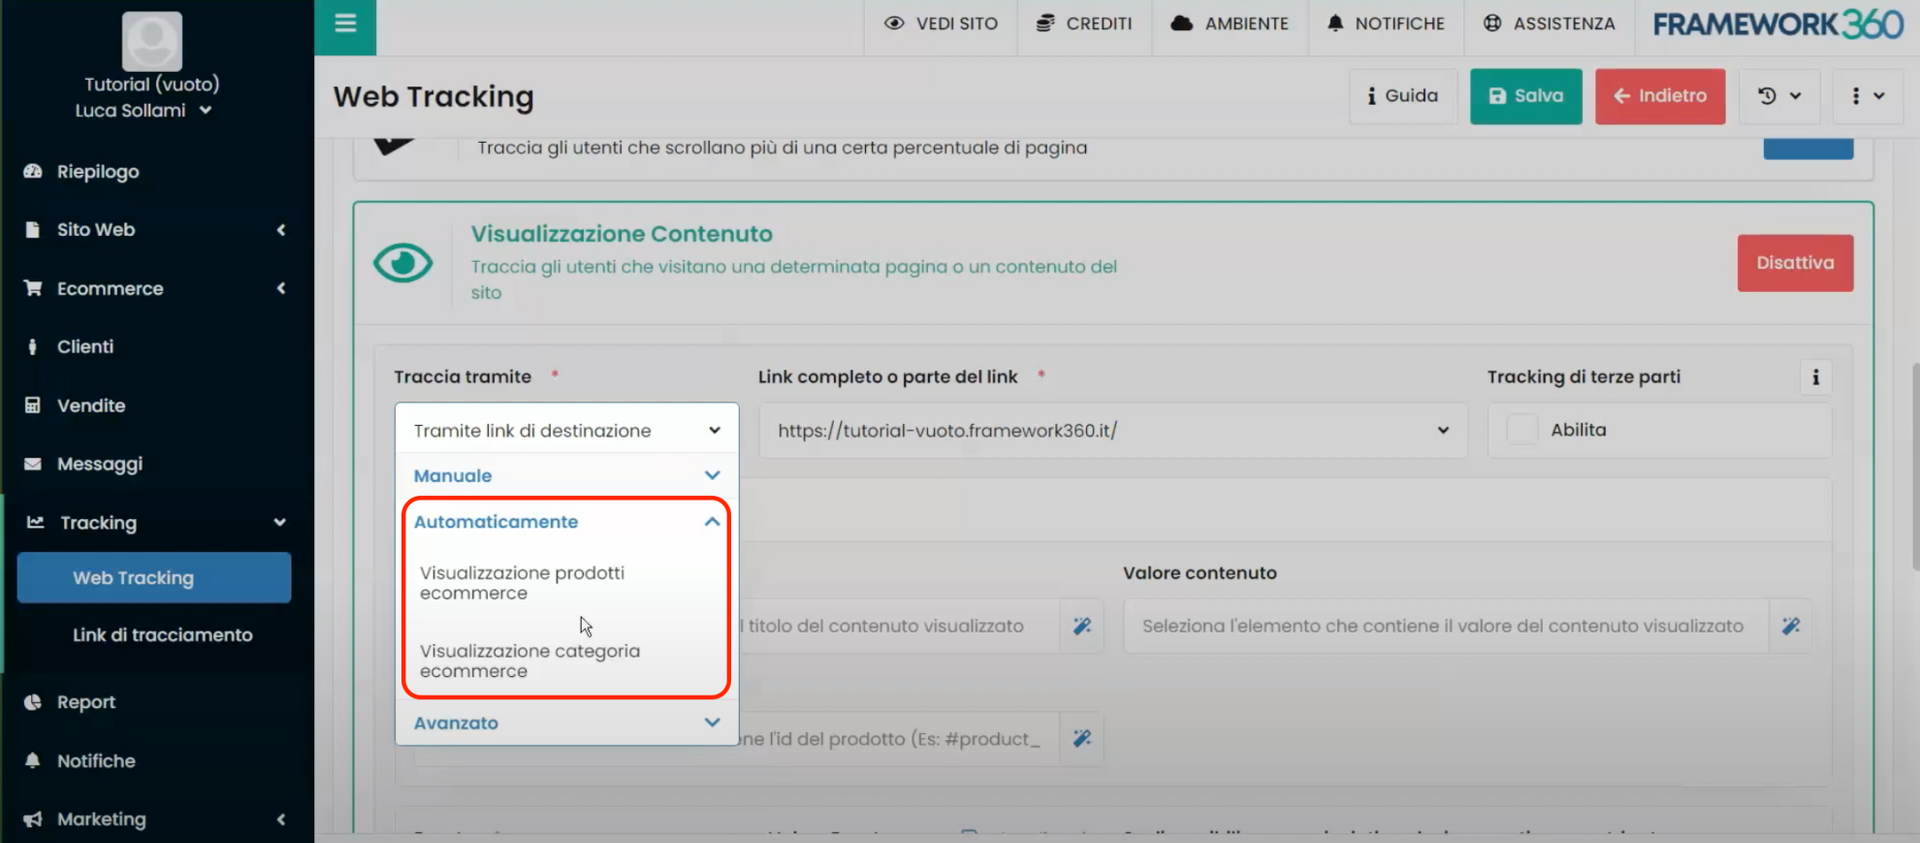
Within the Framework360 section, it will give us the possibility to enable “Ecommerce product view” and “Ecommerce category view”. By enabling these two features, Framework360 will track all products that have been viewed from any product catalog imported to Facebook or Google Merchant Center. This will allow Framework360, in case of activation of sponsored ads on Facebook Ads or Google Ads, to track people who click on the product within the ad and land on the product page. Framework360 will automatically send tracking to advertising platforms, allowing them to perform retargeting actions and increase sales for our store.


