Within this guide, we will see how to open a Framework360 Account.
Step 1: Registering on Framework360
Firstly, we need to go to www.framework360.com/experiential-marketing/ and click on START BY CREATING YOUR ENVIRONMENT, at this point we should follow the normal registration process by entering our details.
Once registered, Framework360 takes us to the configuration screen which will allow us to set up our environment in 3 simple steps:
- System Configuration
- Domain Configuration
- Theme Configuration
In the following paragraphs, we will look at how to complete each configuration step easily and efficiently.
Step 2: System Configuration
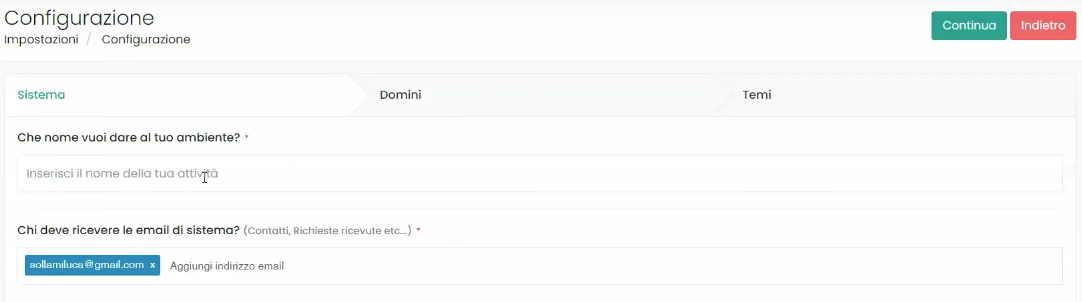
Within this step we should insert the name of our environment, for example, we could choose to insert the name of our business as the name.
Subsequently, we will go on to define the system email, Framework360 automatically takes the address used for registration but if we want, we could enter a different one.
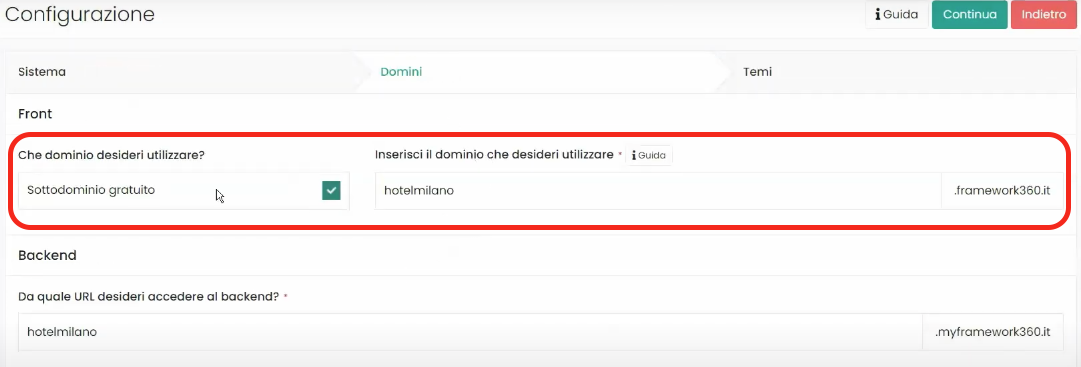
Step 3: Domain Configuration
Through this section, we could configure our domain and the Backend domain.
As for the configuration of the domain, that is, the address of our website, Framework360 provides us with a free subdomain, composed of the name we would like to give to our site followed by .framework360.it.
To be clearer let's make an example: if we wanted to call our site hotelmilano, we could create the free subdomain which will be hotelmilano.framework360.it.
To create the free subdomain we should check the box for Free Subdomain and enter the name in the section enter the domain you wish to use as highlighted in the figure:
If we wanted to insert our own direct domain we would have to uncheck the Free Subdomain option and then, after purchasing a domain from domain selling platforms, point the DNS to the IP address that appears on the screen.
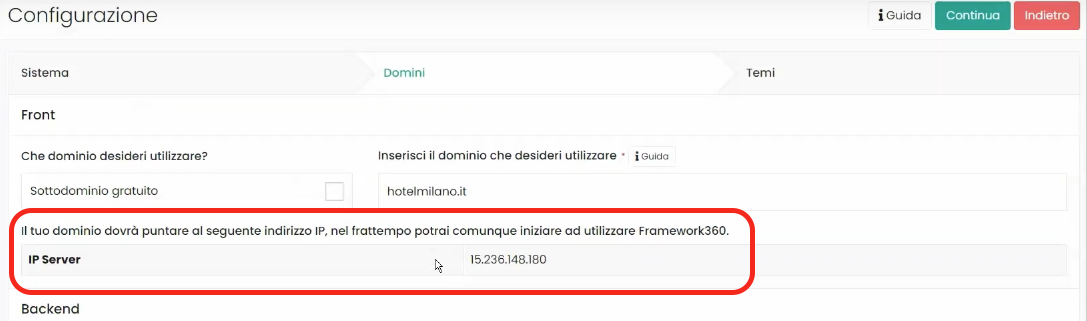
To analytically understand how to configure your own domain, I have created a dedicated guide that you can find by clicking here.
As for the Backend domain, which is the domain we will use to access our Framework360 environment, it will be composed of the name we intend to give to our site followed by .myframework360.it.
Continuing with the previous example, where the site's name was hotelmilano, the backend domain will be hotelmilano.myframework360.it.
Alternatively, you can access the backend by adding /admin to your website's address; in our example, the address will be hotelmilano.framework360.it/admin.
For configuring the backend domain, we only need to enter our site's name under the field From which URL do you wish to access the backend? as shown in the figure:

Step 4: Theme Configuration
Within this section, we could choose from the various available themes the one we would like to use for our website.
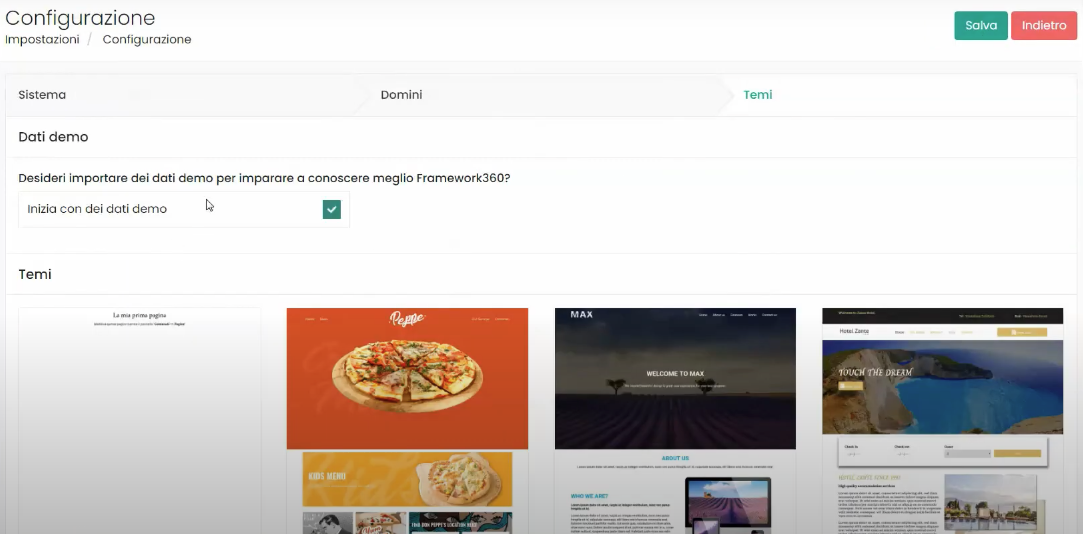
We made it!
By clicking on Save at the top right, we will start the creation of our environment. Once our environment is created, the system will take us inside the page where choose the subscription that interests us.
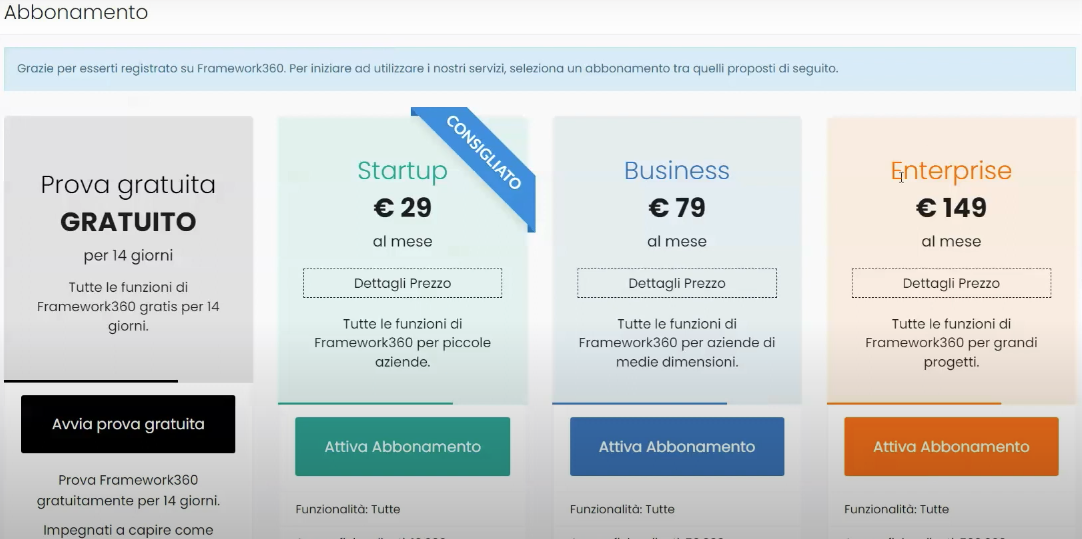
I should specify that all plans include all the functionalities of Framework360, with the difference being that in the more economical plans, resources are scaled back; to give an example, the number of client profiles in the Enterprise plan is 500,000, whereas in the Business plan it is 50,000 and, finally, in the Start-up plan it is 10,000.


