Within this tutorial, we will understand what are the available integrations on the Framework360 platform.
To access the integrations, we should go to the corresponding item through the main menu of Framework360 by following these steps:
Customization > Integrations
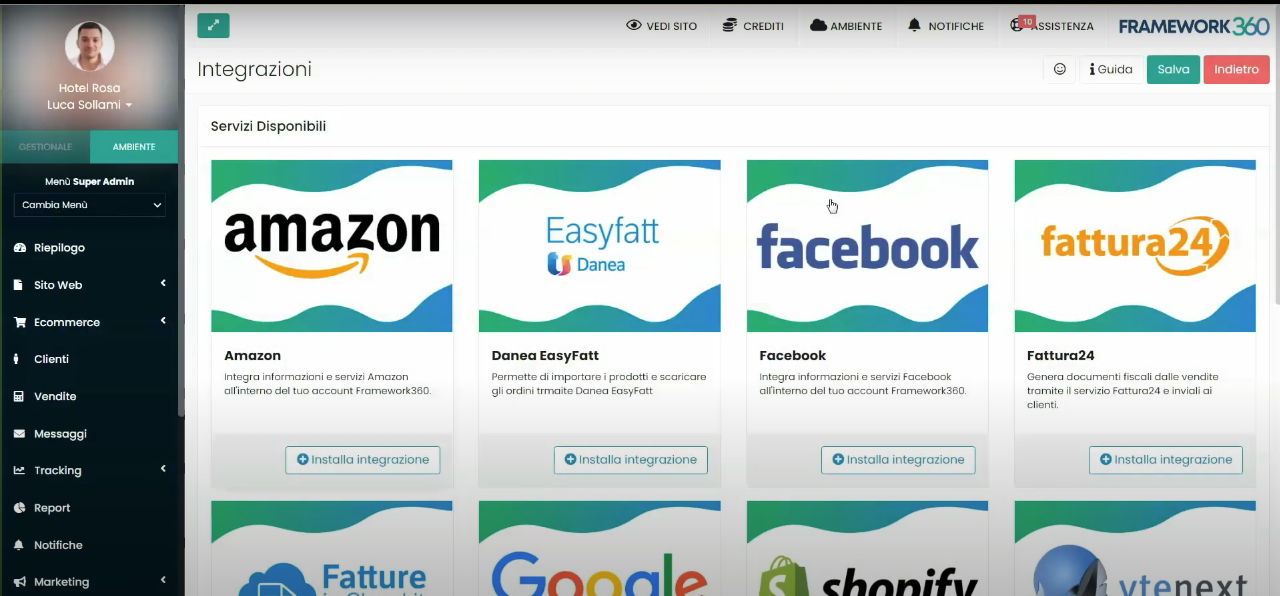
At this point, a screen with all the available integrations on Framework360 will appear.
Installing an integration
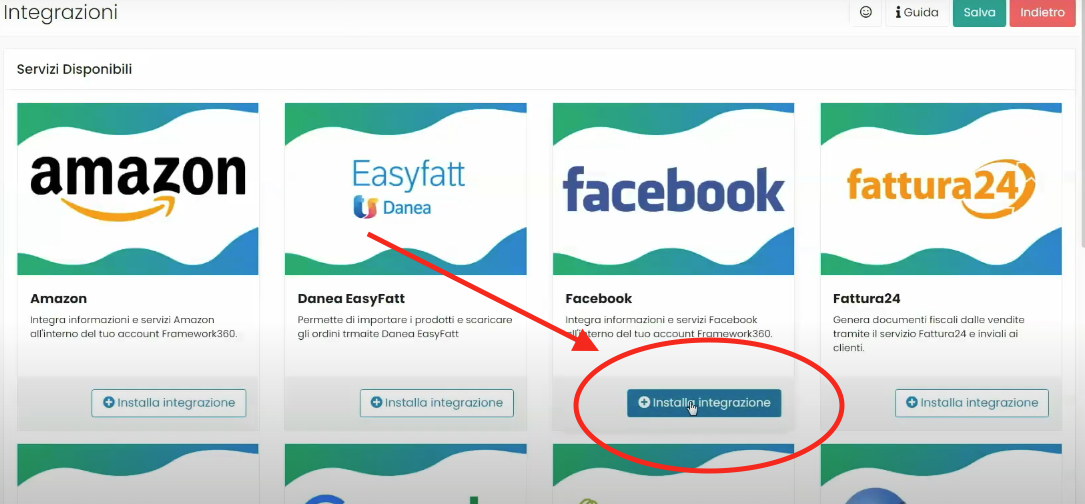
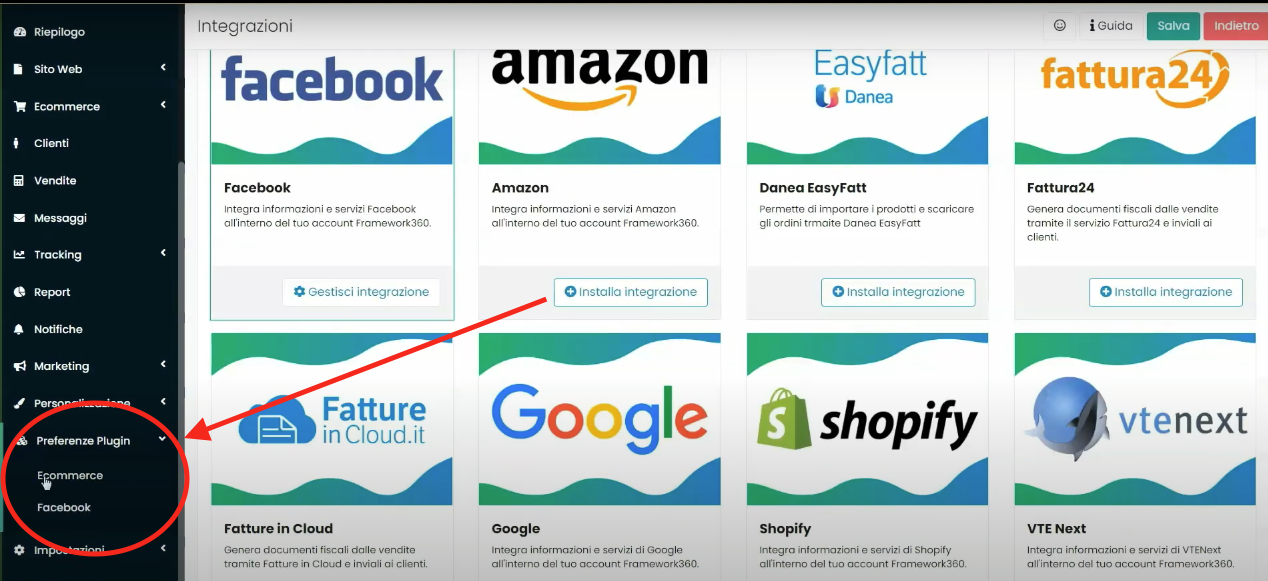
To install an integration, we should click on the Install Integration button as shown in the figure:
At this point, a detailed screen will appear where we are informed if the integration we are installing contains other sub-integrations.
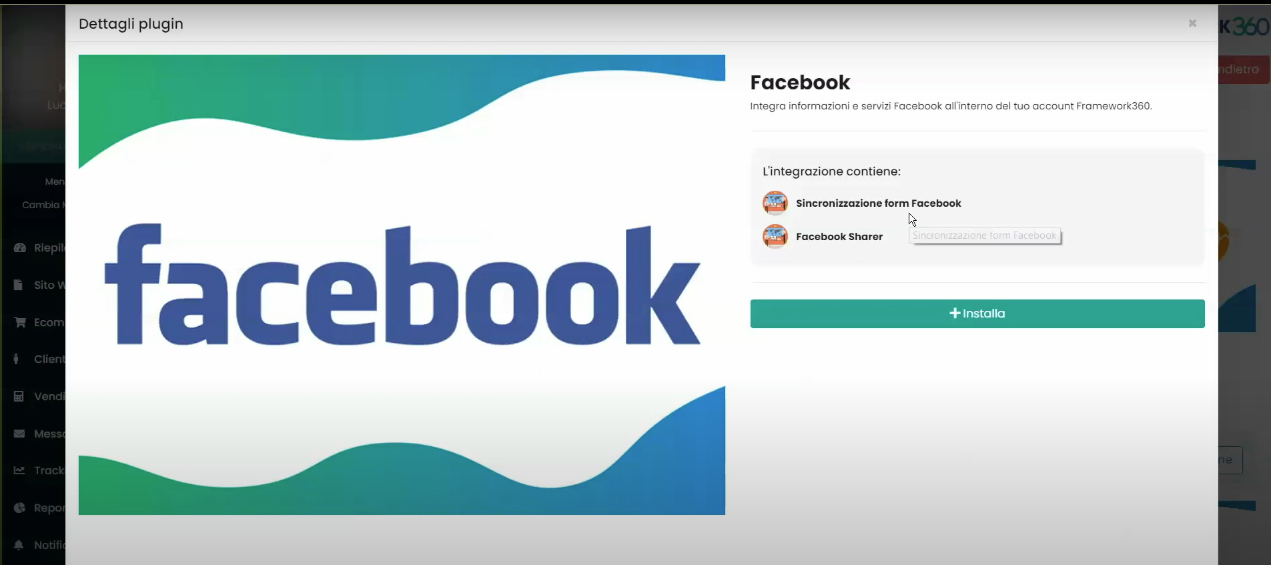
In our example, we see that the Facebook integration includes other sub-integrations such as Facebook Form Synchronizations, this sub-integration will allow us to automatically select all the data left by customers within the Facebook contact form present in our sponsored Facebook content directly into the Framework360 client module.
To install the integration, we should click on the Install button.
Managing Integrations
Once we have installed the integration, to manage it we should go to the main menu item of Framework360 Plugin Preferences following these steps:
Customization > Plugin Preferences
Within the Plugin Preferences section, we will find all the integrations that we have installed.
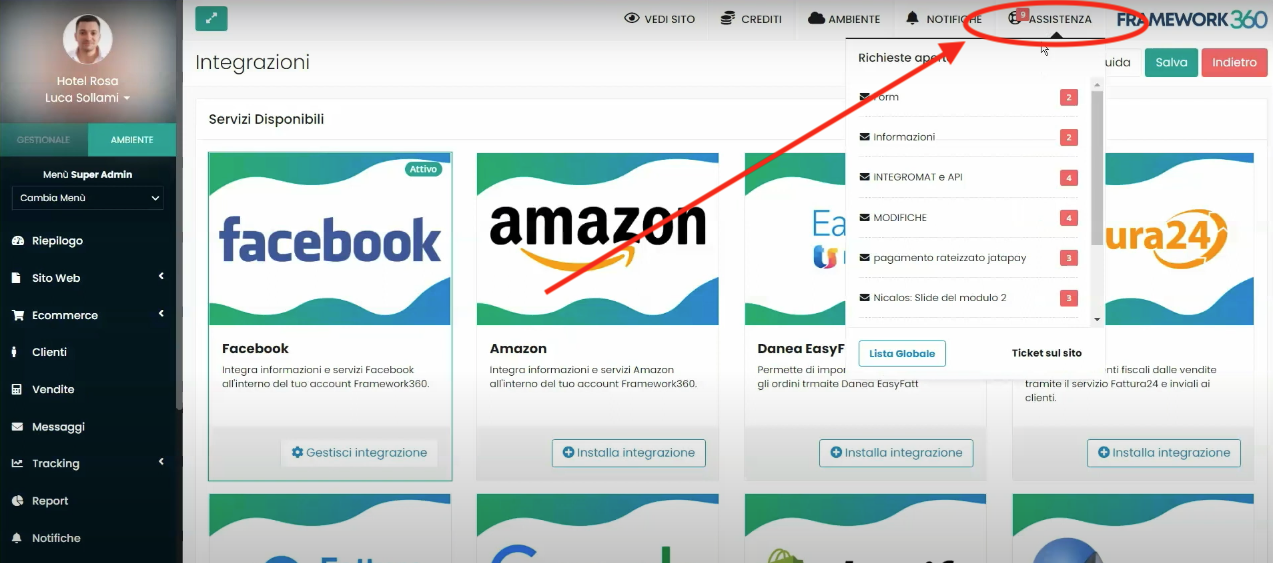
Request for assistance
If we wish to ask technicians for help to understand how certain integrations work or to request the implementation of an unavailable integration, we can do so by clicking on the Assistance button located at the top right of the Integration screen.