Within this tutorial, we will see how to send a test email when, for example, we generate a newsletter campaign or a notification, directly from the email builder of Framework360.
Step 1: Let's create our mail
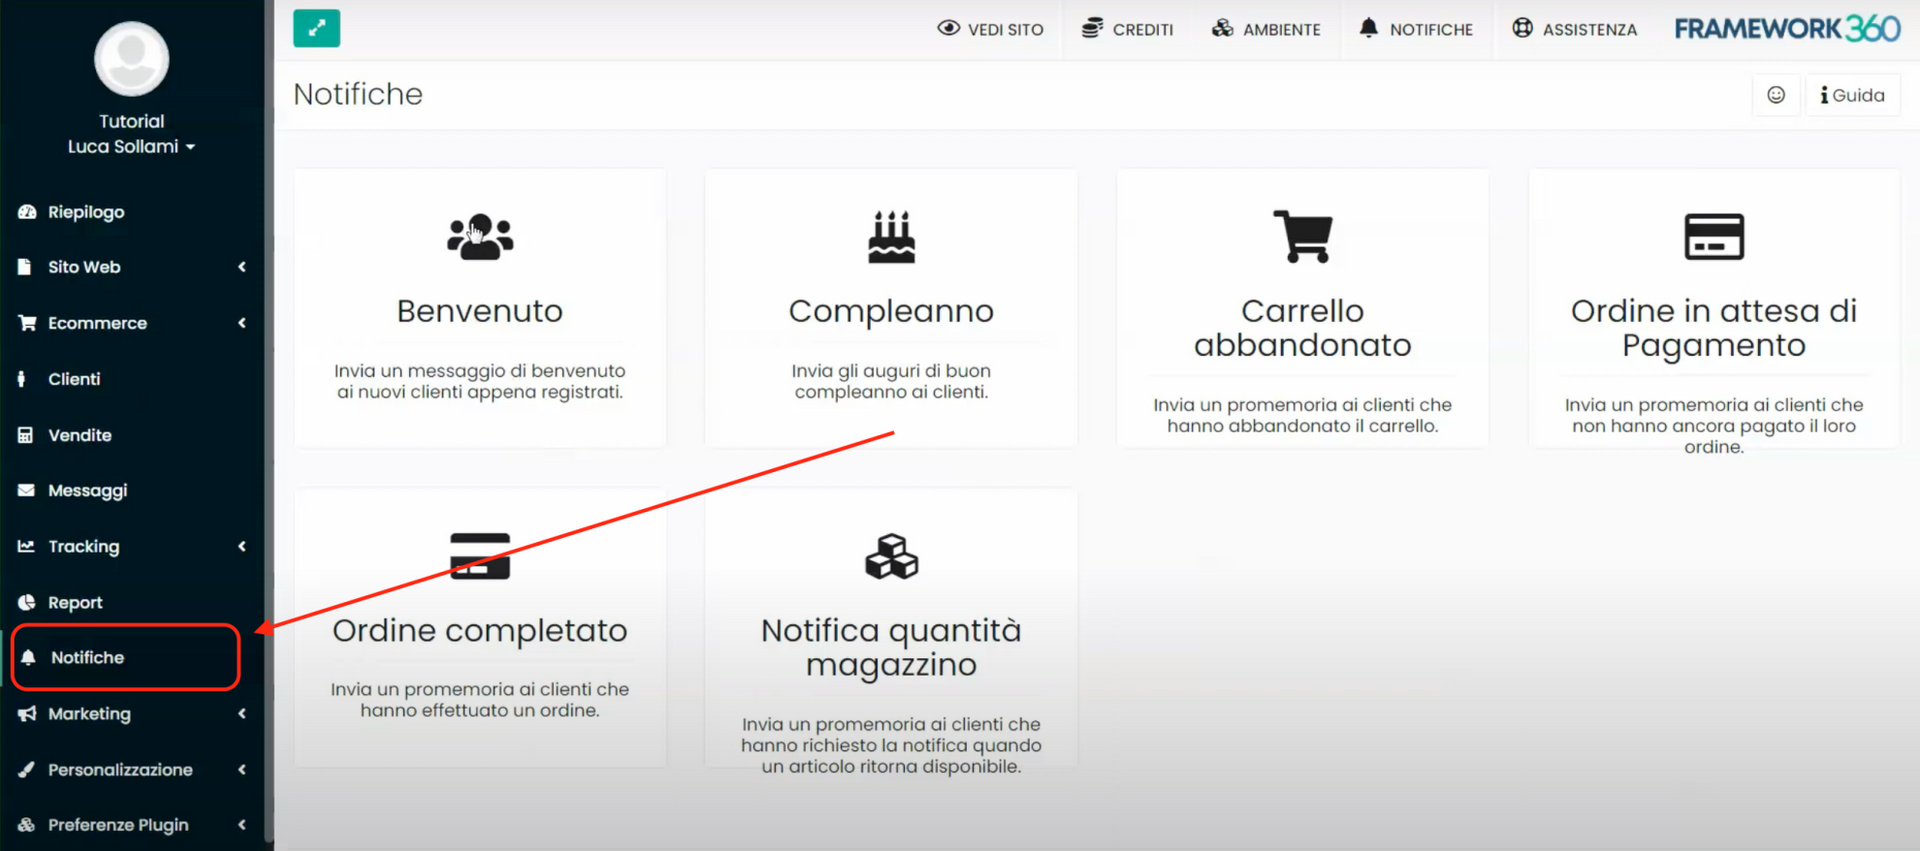
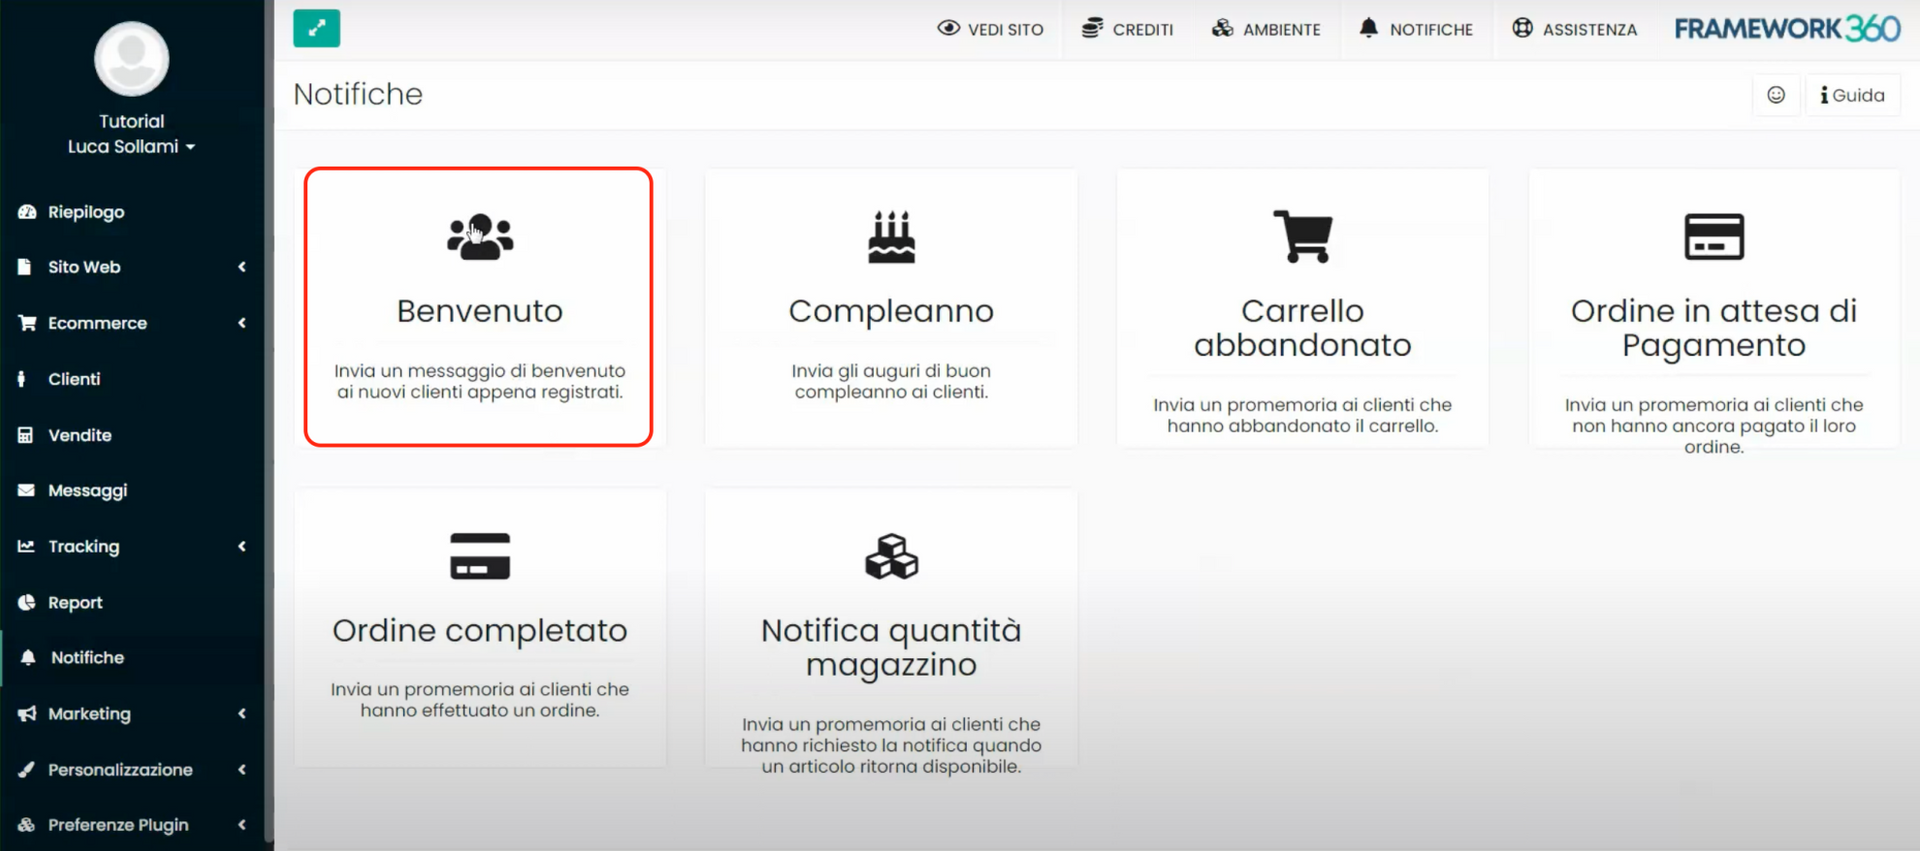
In our example, we will create a welcome notification. Let's go inside the "Notifications" section located within the left sidebar of our environment, where the system provides us with a wide list of notifications to choose from, and select the "Welcome" notification.
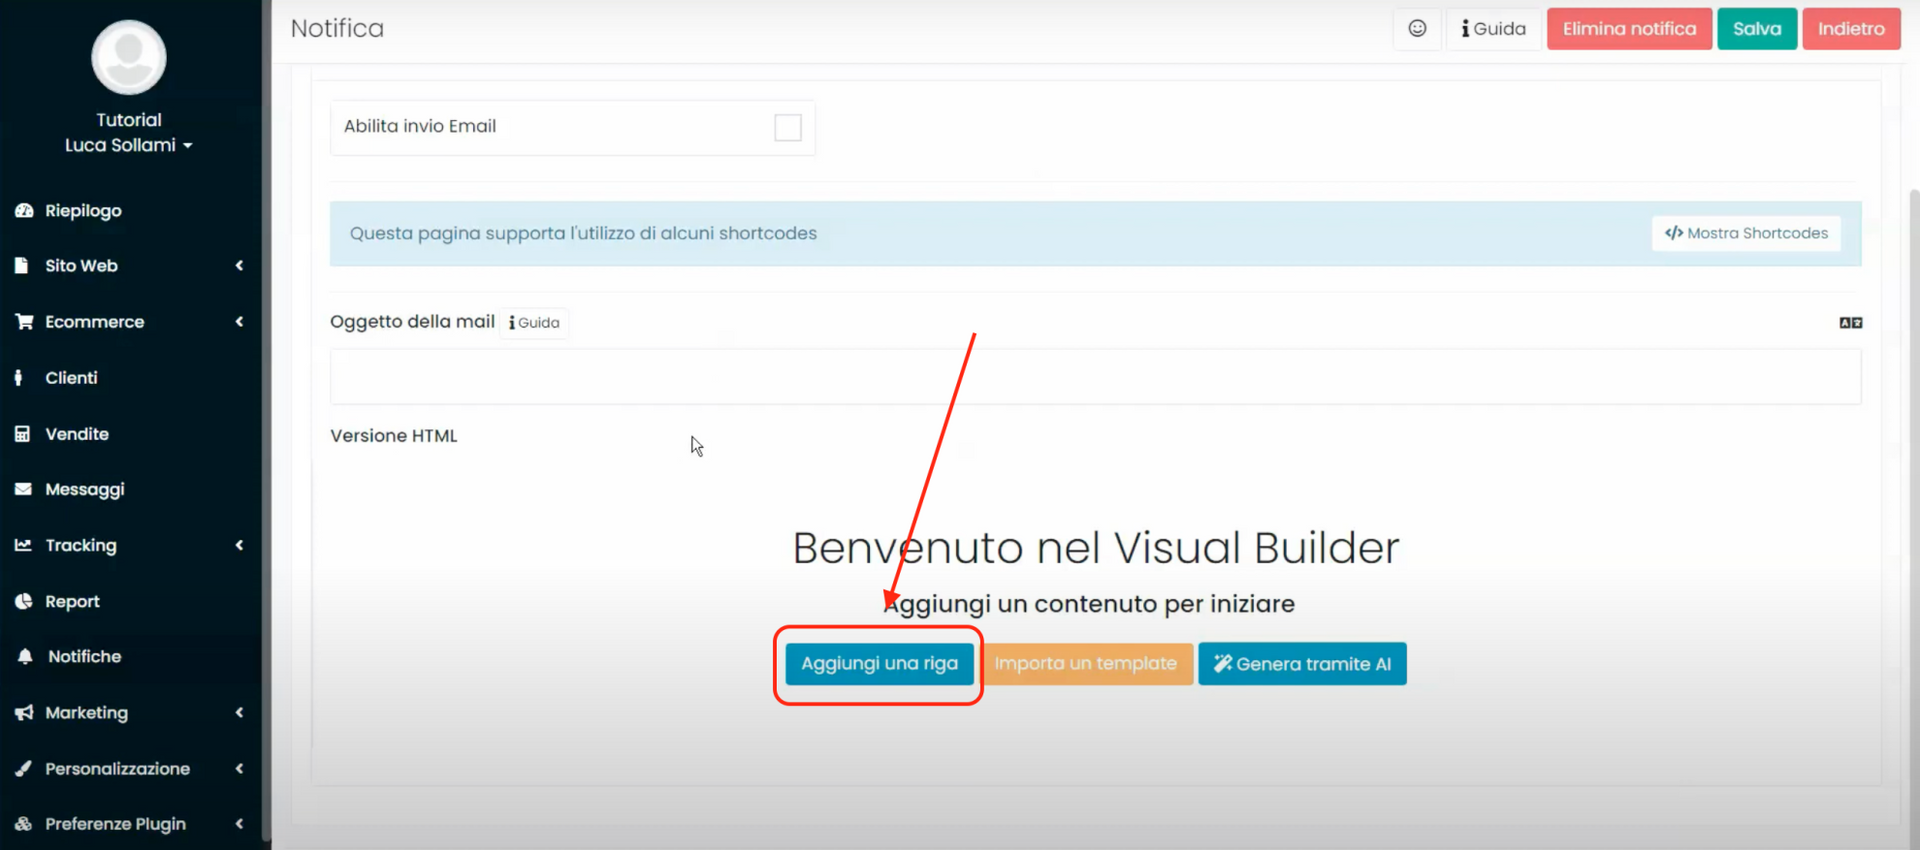
At this point, the email creation screen will open, and the system allows us to create an HTML email using the classic visual builder of Framework360. Click on the "“Add a row”" button to be able to construct the body of the email with the visual builder.
Step 2: Send ourselves a test email
After creating our email we can preview it, in desktop, tablet, and mobile versions, through the buttons of the visual builder located at the top left, as shown in the figure:
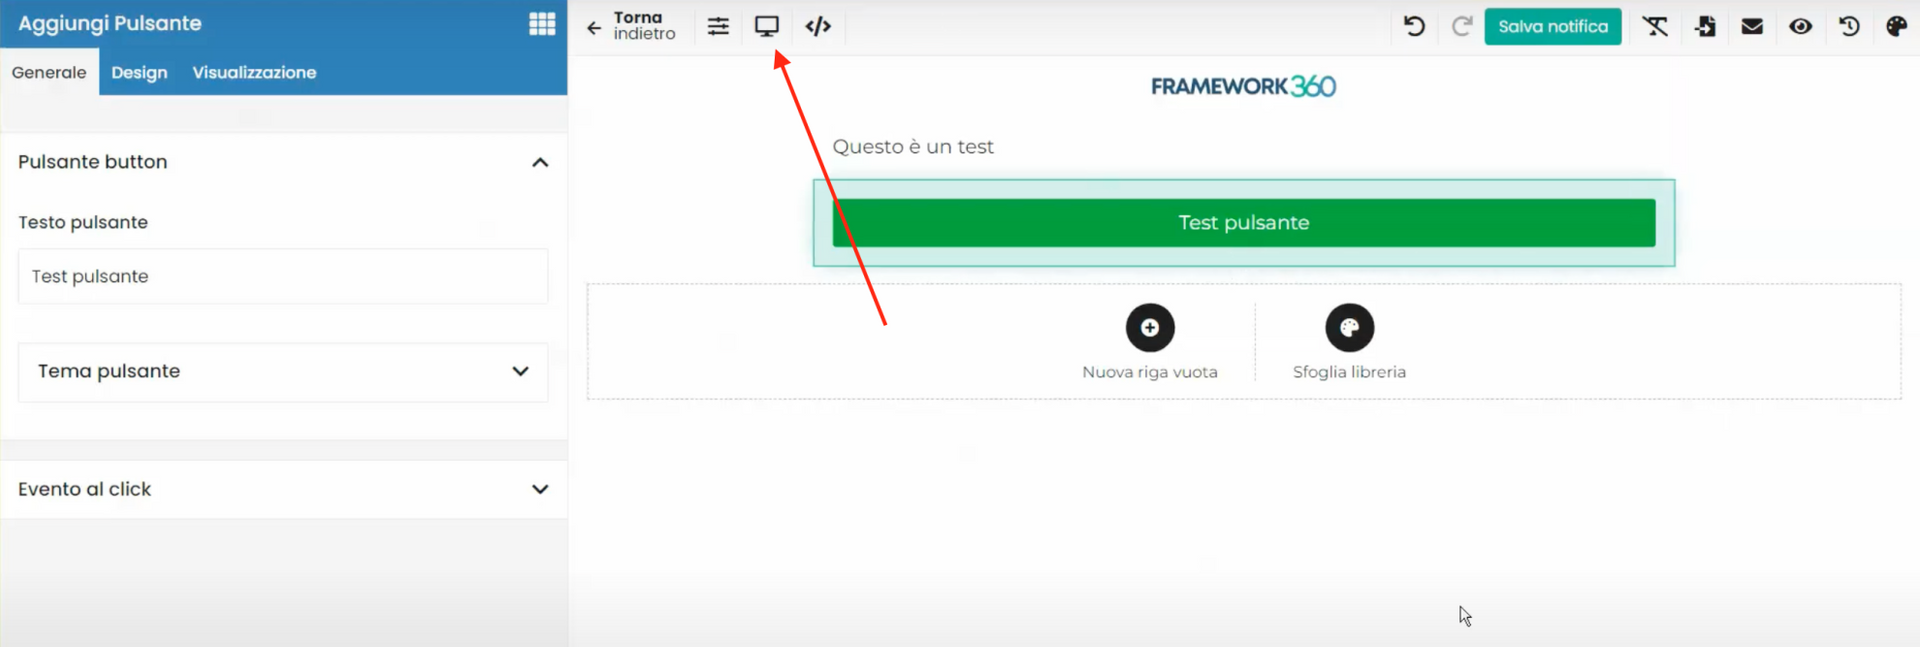
Alternatively, we can send ourselves a test email by clicking on the button that features an icon of a letter at the top right corner, as shown in the figure:
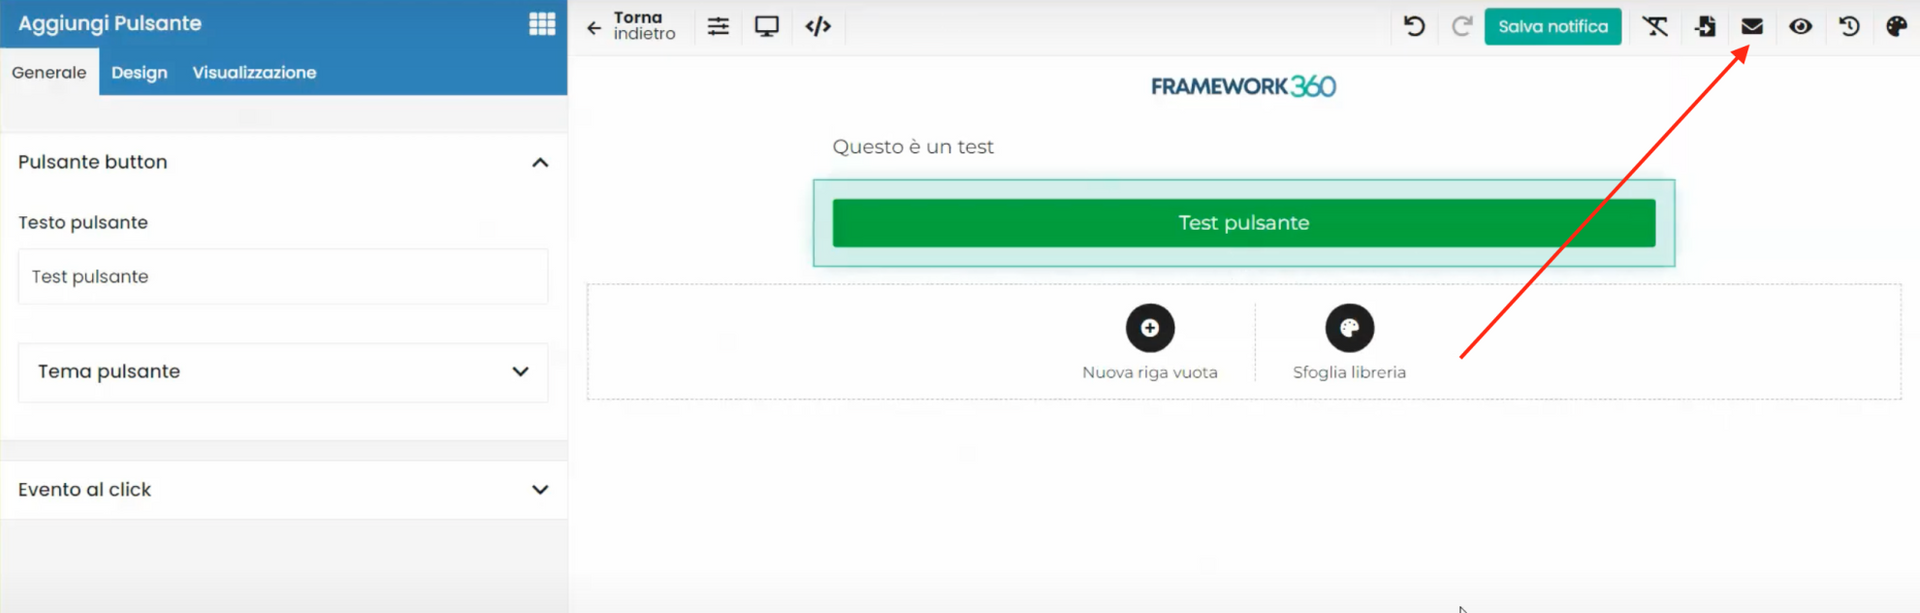
Once we click the button, all we have to do is enter the address to which we want to send the test email and then check our mail to see the final result.


