Within this guide, we will see how to create a new page within our website.
Step 1: Add a new page
First, let's go to the Pages item in the main menu of Framework360 by following these steps:
Website > Pages
Once inside, all the pages that are present on the site will appear. To create a new page, we should click on the green Add button located at the top right.

Step 2: Let's insert contents into the page
At this point, we will have the opportunity to give a title to the page and to insert content within it.
To add content, we should click on the button Add a row.

Once the button is clicked, a visual builder will open on the left side which will allow us to insert blocks into our page.
The blocks are pre-set contents that we could modify according to our needs.
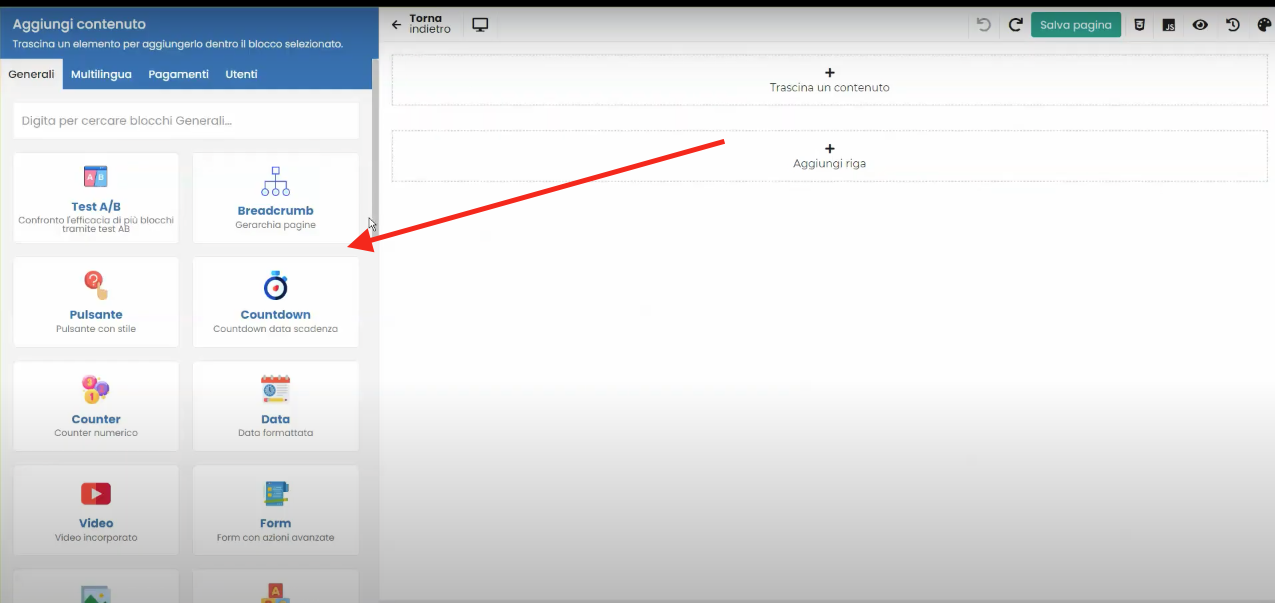
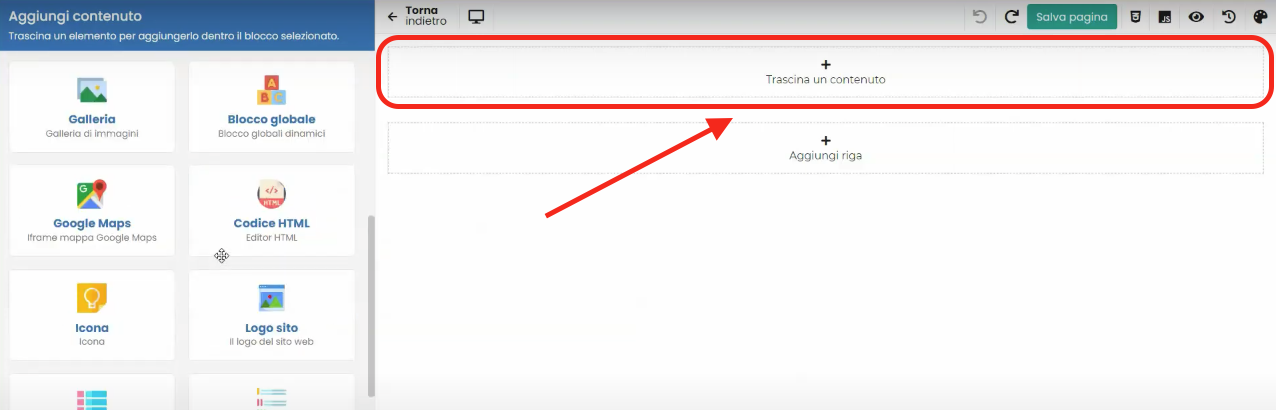
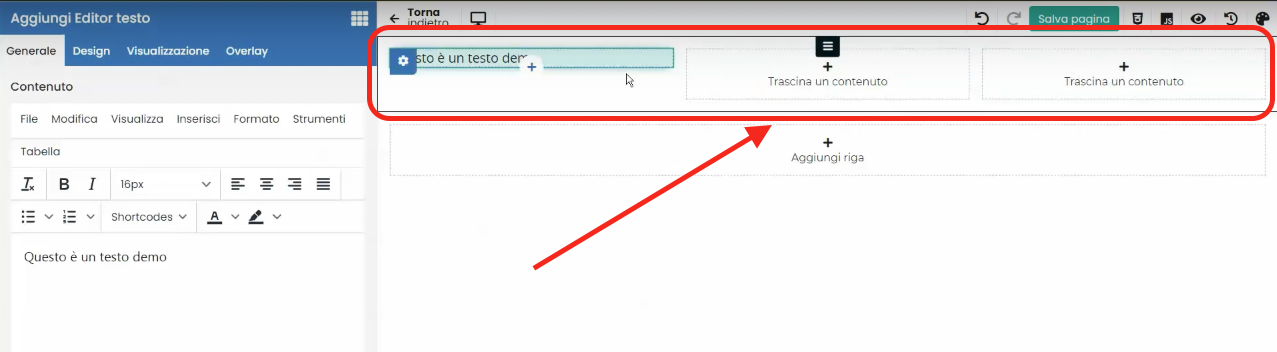
To transfer the block within the page, simply drag it from the visual builder into the row or column. The rows are spaces we create within the page through which we can arrange content on the page.
Furthermore, a row can be divided into several columns as shown in the following figure.
So, to recap, in order to insert content into the page we should select the preset content (called Block) found in the visual builder and we should drag it into the row or column that we have created on the web page.
Once we have finished customizing our page, all that's left is to click on the button at the top right Save Page and it's done!
N.B. In the video at the beginning of this guide, I created a sample web page where you can see how to thoroughly use the Visual Builder of Framework360 for creating your website's page contents.


