In this guide, we will see how to create the website's header.
What is the header?
The header is the top part of the website that is repeated on all pages of the site, generally within this section we find the site's logo and the navigation menu.
Now let's go ahead and look at a few simple steps to create our header.
Step 1: Create the Header
First, let's go to the Global Blocks option within the main menu of Framework360 by following these steps:
Website > Global Blocks
In this section, we will find all the content that can be created once and then invoked on any web pages we wish.
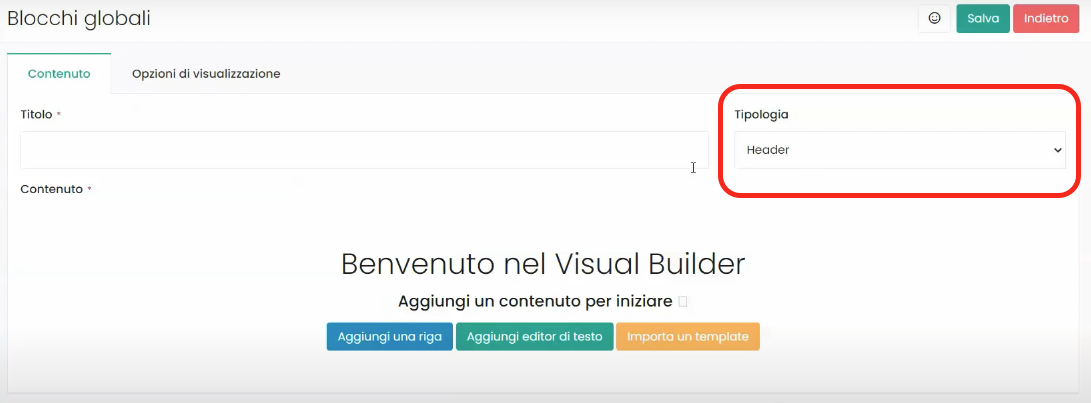
At this point, to create the header we just need to click on the button at the top right corner Add, once inside the global block creation page let's go to the item Type and select as type Header as shown in the figure:
Step 2: Customize our header
At this point, still within the global block creation screen, let's customize the content of our header through Framework360's Visual Builder.
In our example, we will create a header which will include the site's logo and the navigation menu.
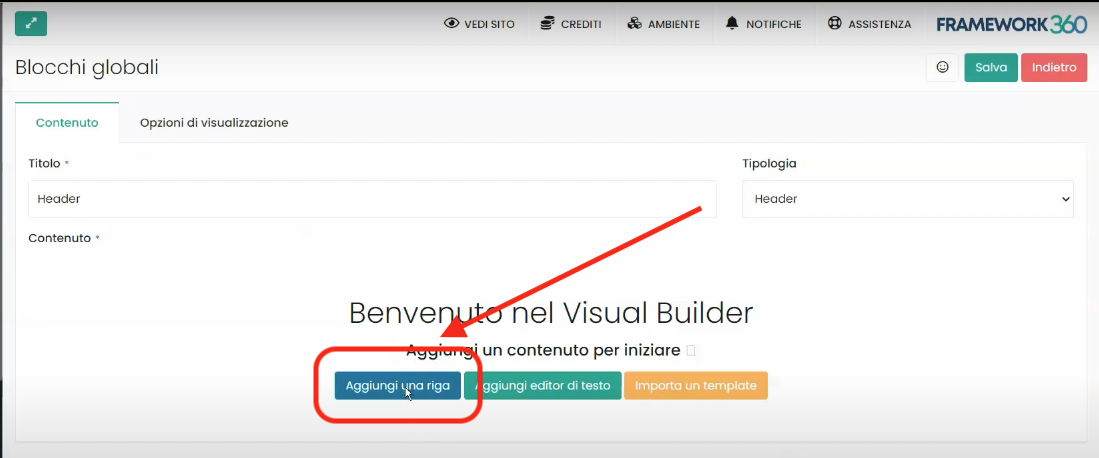
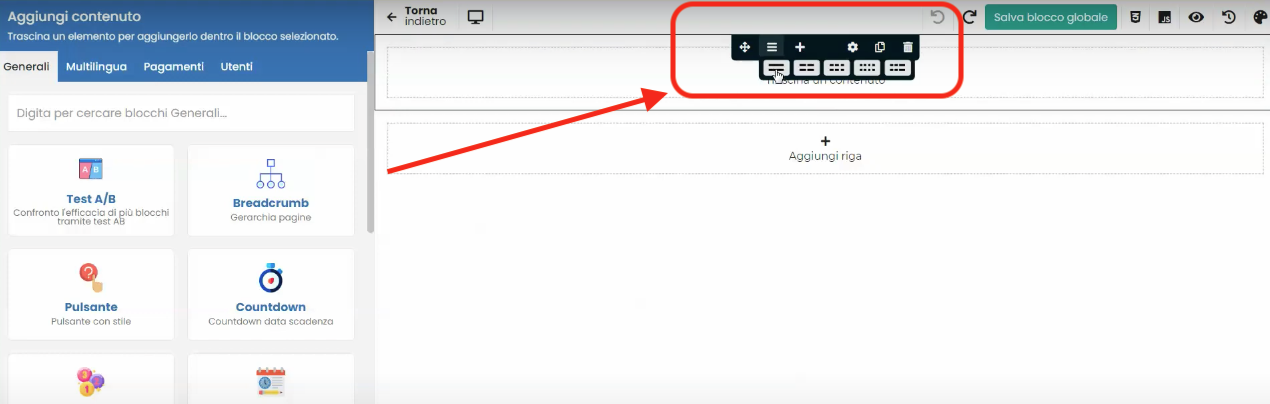
First, let's click on Add a row and then create two columns within that row (one for inserting the logo and the other for inserting the navigation menu).
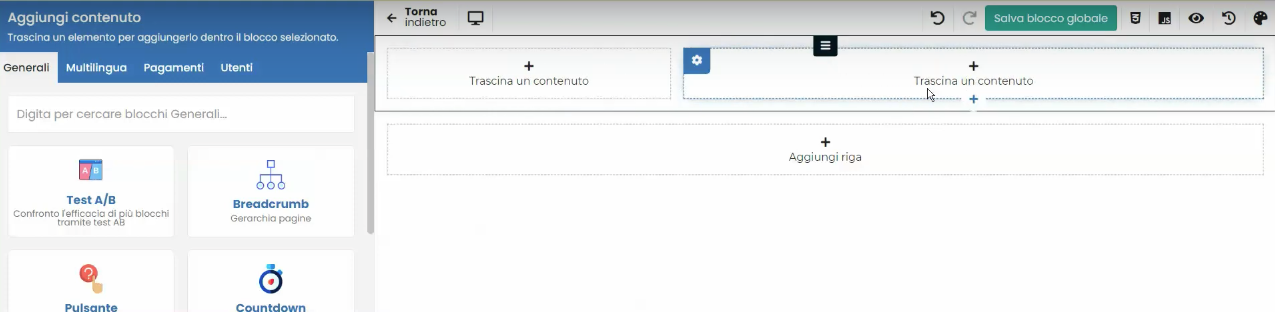
At this point, we go to search inside the Visual Builder for the content Logo site and drag it into the first column created. Next, still in the Visual Builder, we look for the content Navbar, drag it onto the second column and then select within the customization screen of the Navbar the Main Menu.
At this point, we click on the top right button Save
Step 3: Let's Create the Main Menu
If we have not yet created the Main Menu, we will notice that nothing will appear on the right side of our header:

To create the Main Menu we should go to the Menu item within Framework360's main menu by following these steps:
Website > Menu
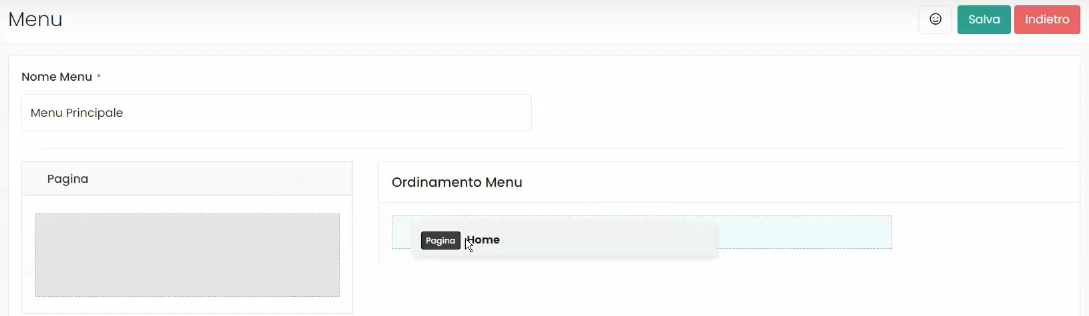
At this point, we click on the Main Menu which is automatically inserted by Framework360 to modify it.

Once inside the edit screen, all we need to do is drag the items we want to display in the main menu from the left column Page to the right column Menu Sorting as shown in the figure:
At this point, all we have to do is click on the Save button at the top right and our Header will be completed!


