In this video, we will see how to create a popup on your own website using the Framework360 platform.
Let's get started!
First, we go to the Popup section through the main menu of Framework360 by following these steps:
Website > Popup
By clicking on the button at the top right Add, the following screen will appear:
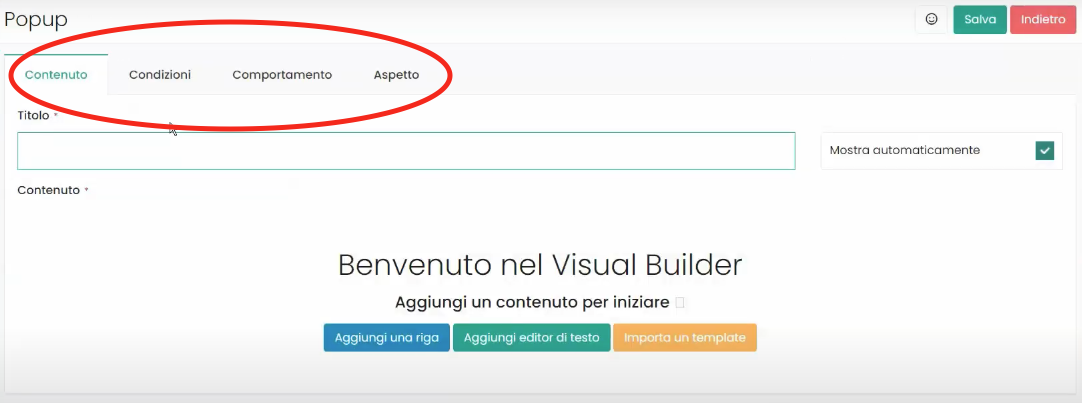
As highlighted in the figure, in the popup customization screen we have the following areas:
- Content
- Conditions
- Behavior
- Appearance
Each of them will allow us to customize certain aspects of our popup, let's analyze them in detail.
Content Area
Within the Content area we can set the main parameters of our popup.
We can give our popup a name, and we can also decide whether our popup should be automatically shown upon opening.
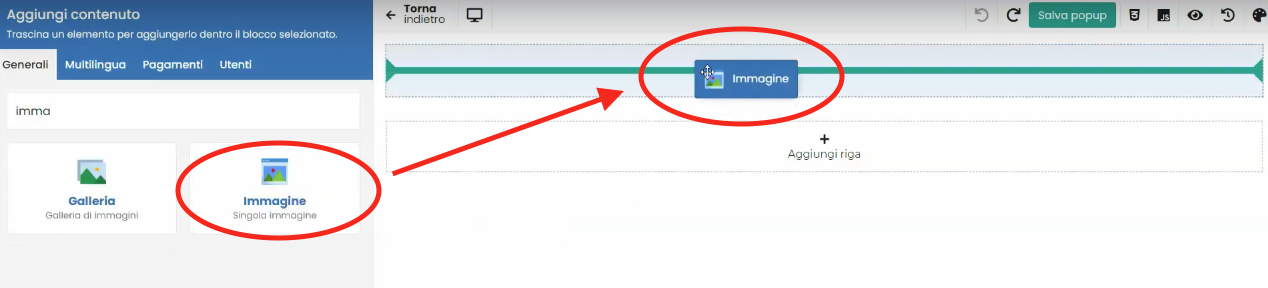
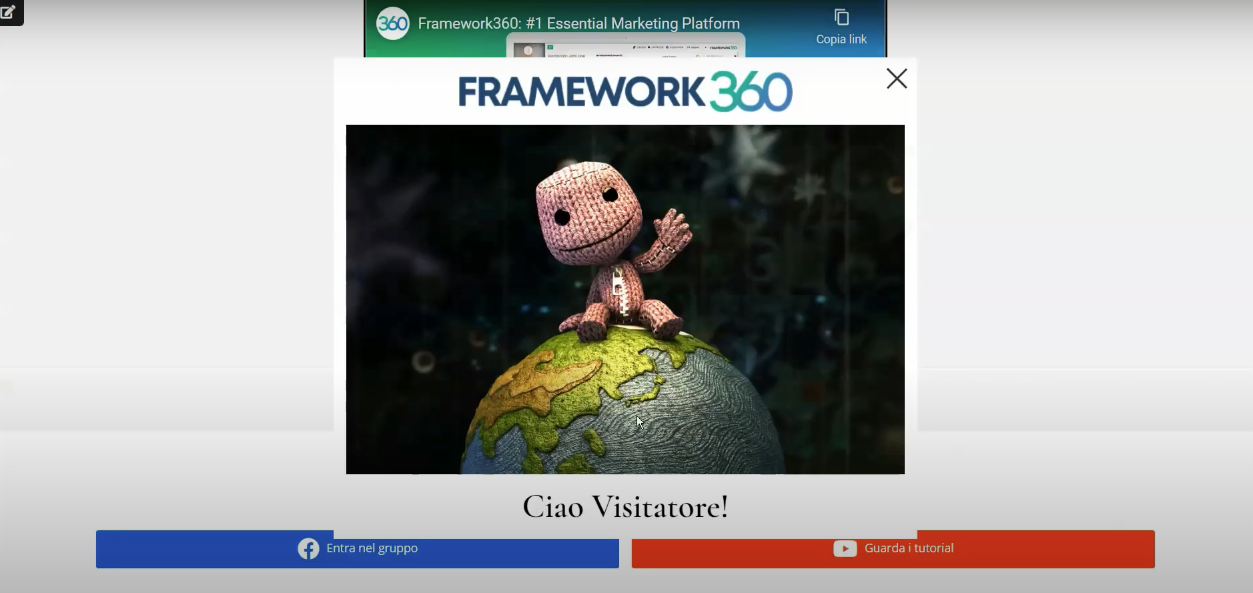
In addition, we see that a Visual Builder appears on the screen through which we can go on to add the contents we want to display inside our popup.
Clicking on Add a row will bring up the usual customization screen of Framework360's visual builder through which we can add the content we desire, such as a logo, an image or a row. For insertion, all we need to do is move the reference tab from the left column into the section we created in the right column as shown in the figure:
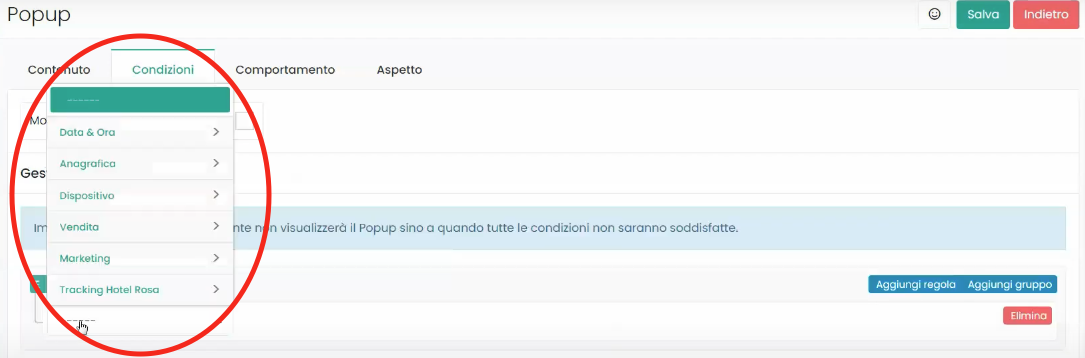
Conditions Area
Within the Conditions area, we could choose who to show our popup to.
By using the option Show to everyone, we could allow all website visitors to see our popup, or alternatively, we could decide to set limitations, such as showing the popup only to those who visit the site on a specific date or at a specific time, or displaying the popup only to users accessing with a device of a certain brand (e.g., Apple).
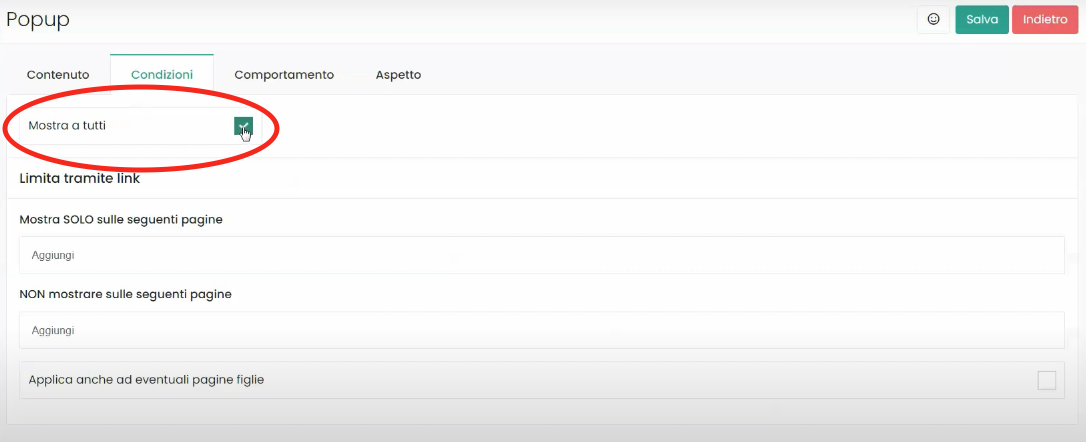
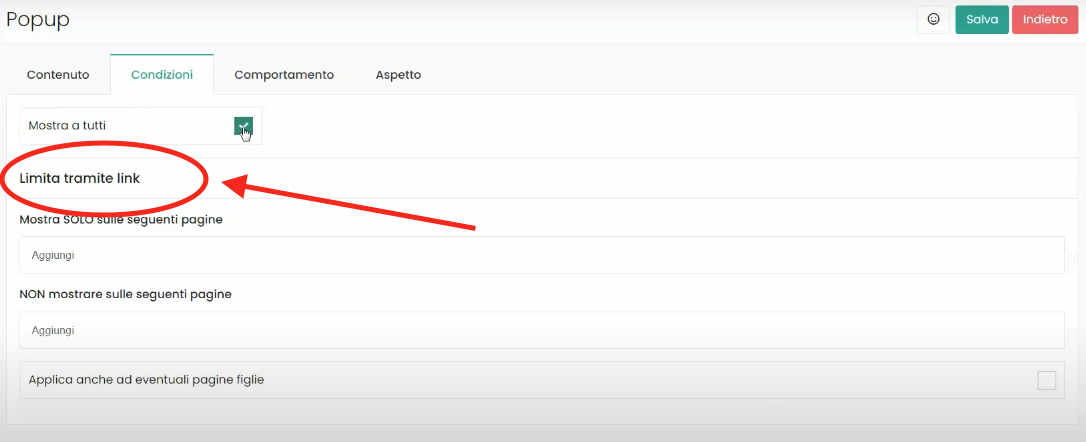
Meanwhile, through the Limit via link function we could choose on which links of our website to display the popup or on which website links not to display the popup.
Area Behavior
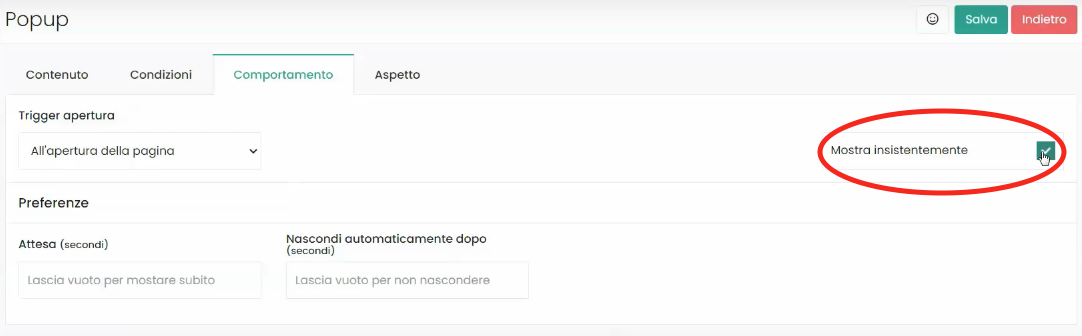
Within the Behavior area we could choose to persistently show the popup through the option Show persistently, meaning, the popup will be shown every time the user changes page.
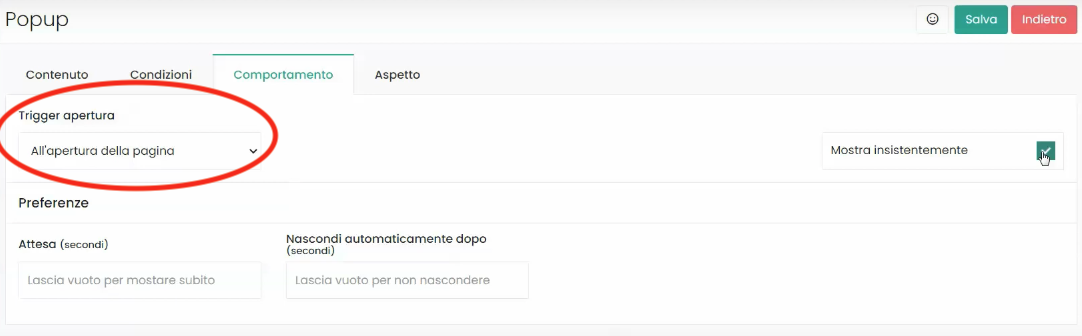
Through the Trigger Opening option, we could decide whether our popup should be displayed upon opening the page or just before the page is closed.
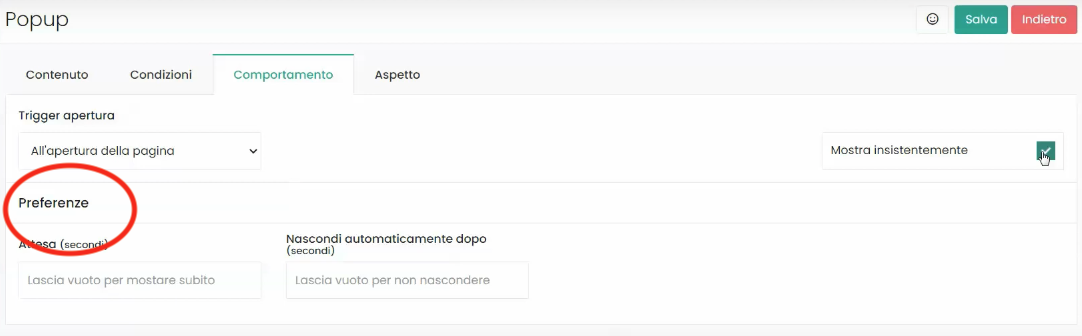
Finally, through the Preferences option, we could decide if the popup should be seen after a certain number of seconds or if it should automatically hide after a certain number of seconds.
Area Appearance
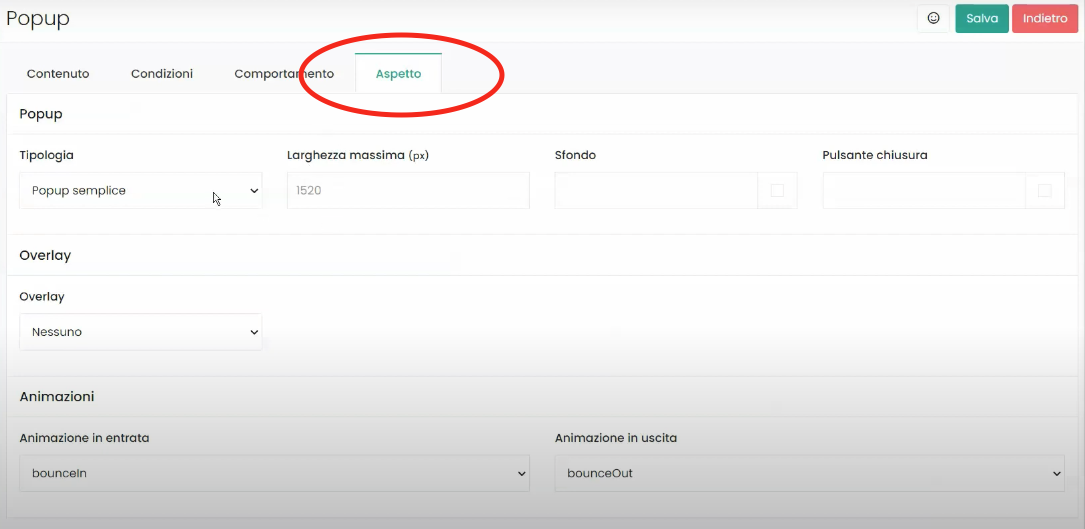
In the Appearance area, we could define multiple graphic customizations for our popup.
We could decide the type of popup, its width, background color, or the color of the close button.
We might also choose whether the page in which the popup appears should have an Overlay or not, and if the overlay should be light or dark. The overlay is the background of the page that appears underneath the popup; below are two examples respectively of a page without an overlay and a page with a dark overlay:

Lastly, through the Animation option, we could also decide what effect our popup should have when it appears and disappears from the page.


