In this guide, we will see how to change the logo on your website created with Framework360.
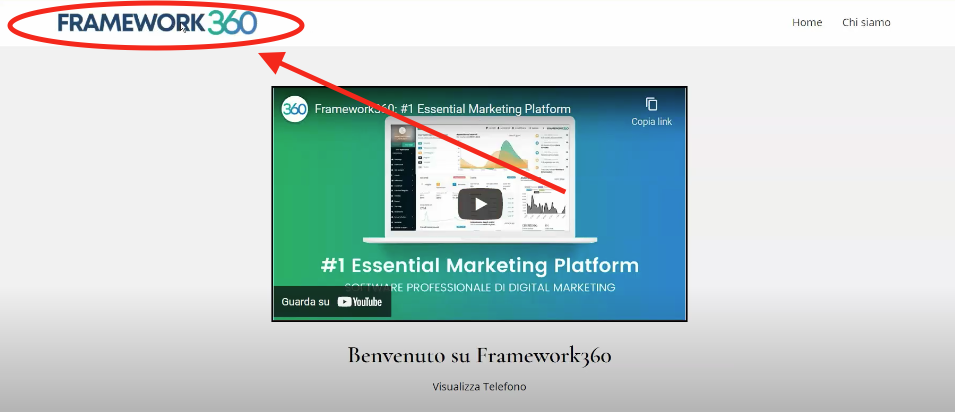
When viewing the site (the website can be quickly accessed by clicking the View Site button located in the Topbar of the platform), the logo of our website will appear at the top left corner as shown in the example image:

Let's get started!
To modify the main logo, all we have to do is go to the main menu and click on the following items:
Settings > Website
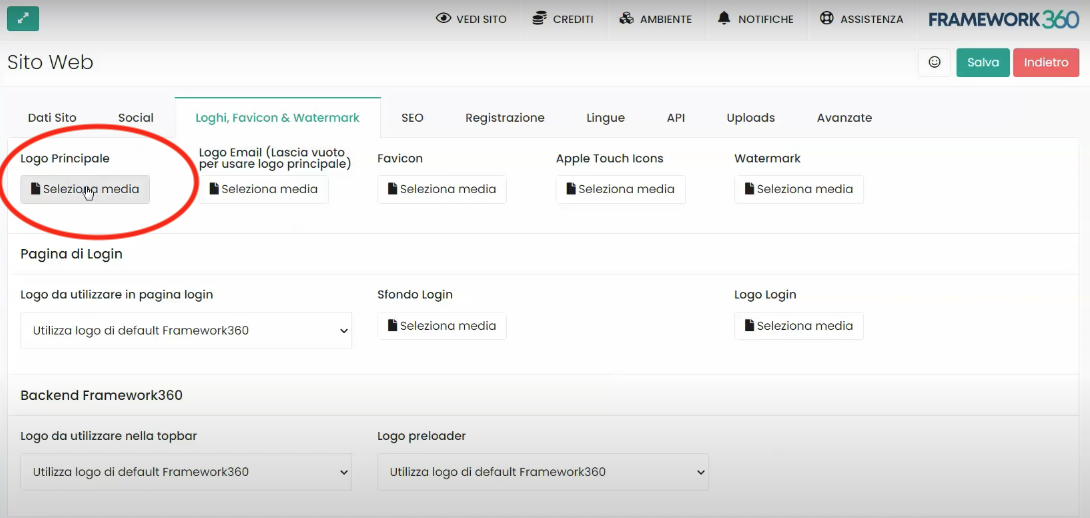
At this point, we should enter into the Logos, Favicon & Watermark area as shown in the figure:

Now we should click on the Main Logo option and select our logo.

If we also wanted to display the same logo on the login screen, we would need to scroll down the page to the item Logo to use on login page and select, through the dropdown menu, the option Use the main logo.

The same thing we did for the login logo can also be done for the logo that appears at the top right in our Framework360 environment. In this case, we should go to the item Logo to use in the topbar and select, again through the dropdown menu, the option Use the main logo.


