Within this guide, we will see how to add social page links to our website built on Framework360.
Step 1: Insert Social Links in the Settings
First, we need to navigate to the Settings option in the main menu of Framework360, and then to the sub-option, also in the main menu of Framework360, Website.
At this point, a modification screen divided into various tabs will open; we need to go to the Social tab as shown in the figure:

Once inside the Social tab, we proceed to insert the links of the Social networks we are interested in under their respective heading and click on the green button > Save at the top right.
With this operation, we have inserted the links of our Social Networks into the corresponding block, in the next step we will see how to insert the block within the web pages where we wish to display our social networks.
Step 2: Inserting the Social block within the website pages
First, let's go to the edit screen of the page where we want to insert the Social block. To do this, navigate to the Pages subsection of Framework360's main menu by following these steps:
Website > Pages
At this point, a list of all the pages on our website will open up, click on the page where you wish to insert the Social block to modify it.
Now let's create a new row on the page by clicking on Add Row as shown in the figure:
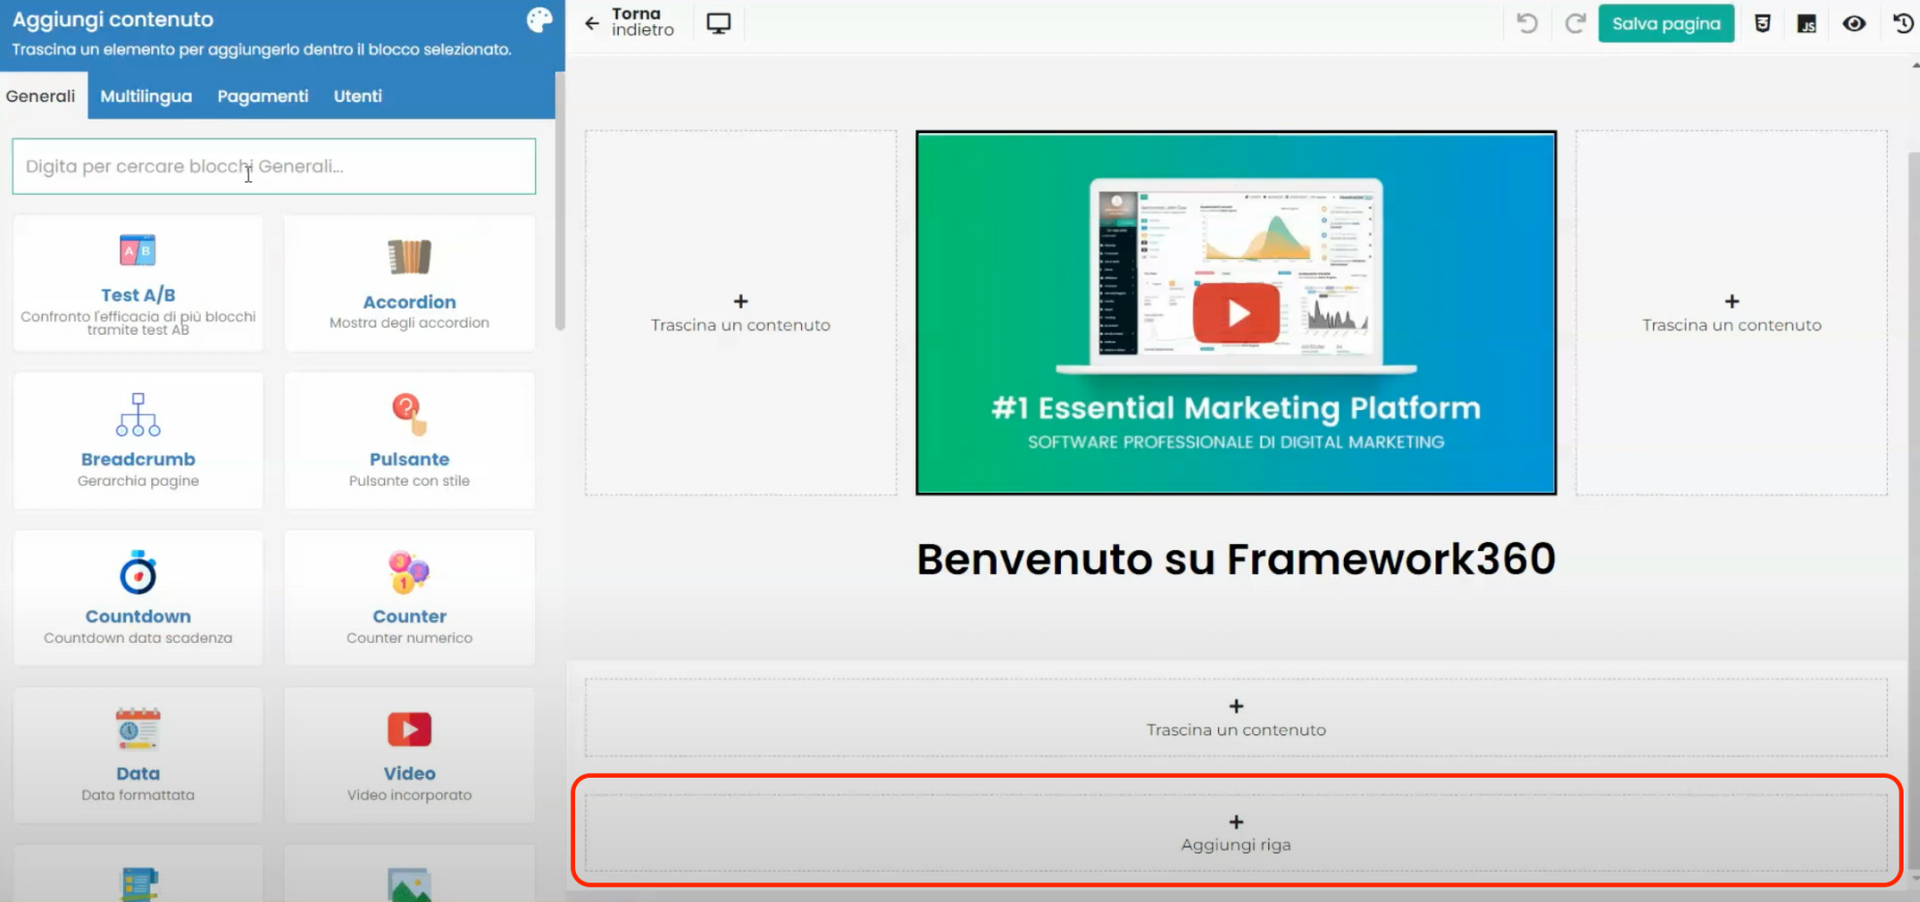
Once the line is added, we go to look for the visual builder on the left and find the Social block, then drag the block into the newly created row. Finally, if we wanted, we could change the aesthetics of the Social block also through the visual builder.


