In this article, we will see how to create a custom role to access the Framework360 environment.
Creating a custom role could be used to allow a collaborator, an employee, or a client who wants to independently manage their own site within their environment.
Let's get started!
First, we go to the subsection Roles and Permissions through the main menu of Framework360 by following these steps:
Settings > Users and Permissions > Roles and Permissions
Once inside, we will already find the Admin role available, through which it is possible to manage and view all the functions on the platform. In case we want to give our user the ability to view and edit only certain functions, we would need to create a
New Role.To create a new role, click on the button at the top right Add, at this point we will be facing the following screen:
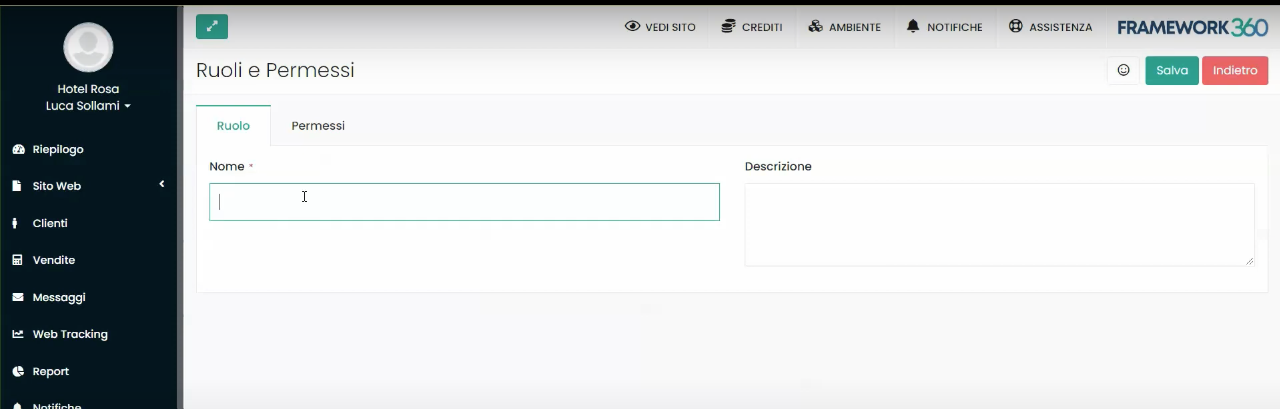
Now let's go ahead and insert the name we prefer for the role we are creating, if we want, we could also add a description of the role. In our example, we called the role "External Collaborator".
Customize the Functions of the New User
We now move to the Permissions area through the button highlighted in the following figure:
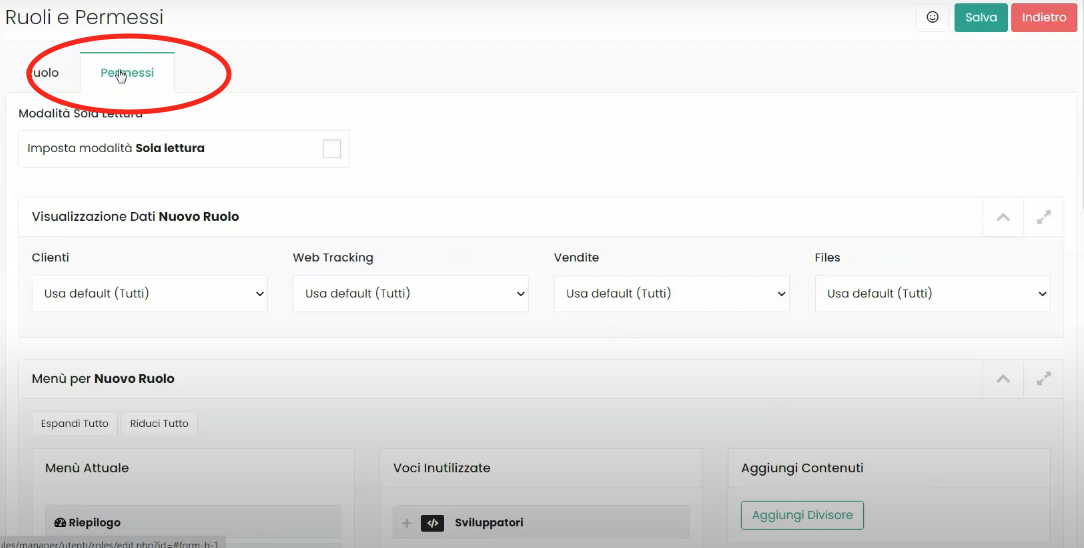
Once inside the Permissions area, we will find ourselves in front of various sections that will allow us to customize in a very detailed manner what our user will be able to do.
The areas we will encounter are as follows:
- Read-Only Mode
- New User Data Viewing
- Menu for New Role
- New Role Dashboard Widget.
Now let's take a detailed look at what these areas allow us to do and how to customize them.
With the first section called Read-Only Mode, we can decide that our user will only be able to view the data on the site but will not be able to modify its content.

Within the New User Data Display section, however, we could decide whether the user will be able to see all the data related to Clients, Web Tracking, Sales and Files, or only be able to view their own data pertaining to the aforementioned items.

We might also customize the Sidebar that our user will view.
To modify the Sidebar, we will move to the Current Menu column of the Menu for New Role section the items we want our user to see, while we will move into the column Unused Voices the entries that we will desire not to display as shown in the figure:
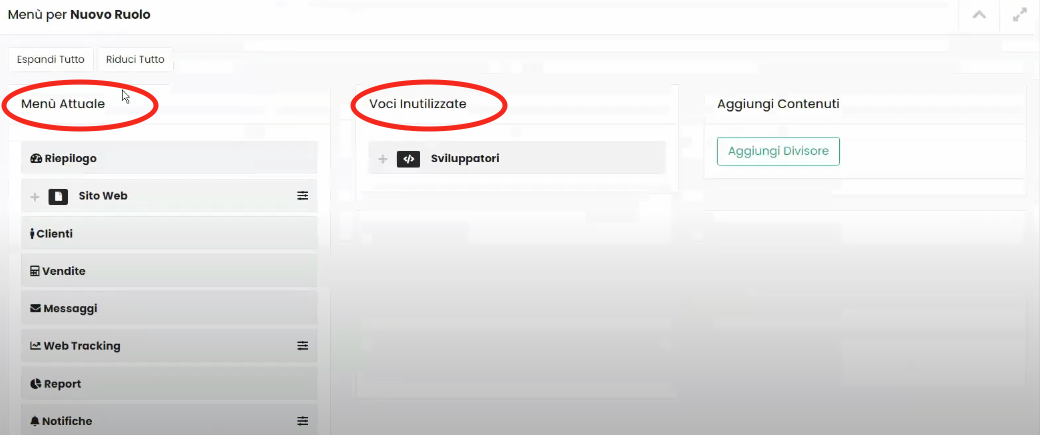
Through the Add Divider button present in the Add Contents column, we could add a non-clickable divider in our user's Sidebar, perhaps to make the Sidebar more intuitive and organized.
Continuing to scroll through the Permissions page, we will find the section New Role Dashboard Widget through which we can decide which widgets, present within the dashboard, our user will be able to view.


